
About the Prusacaster
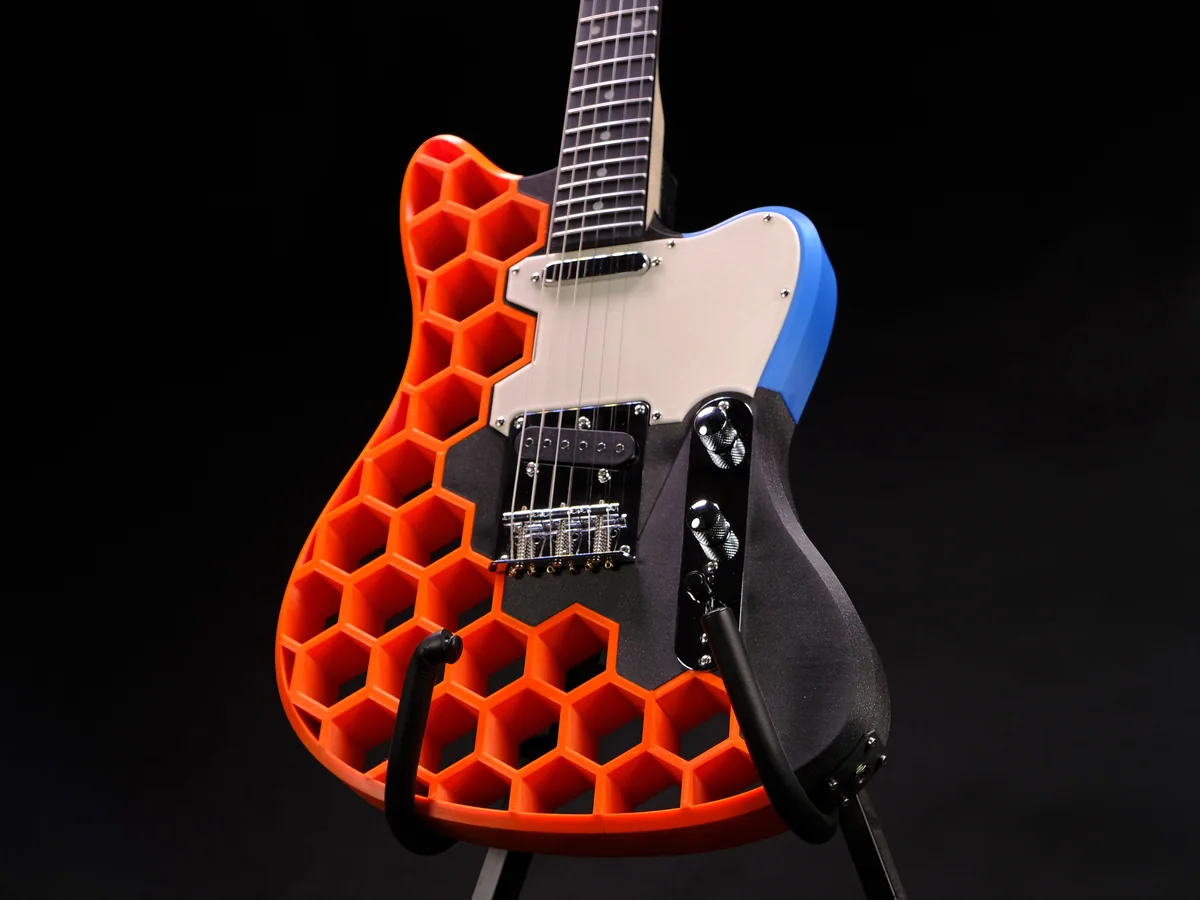
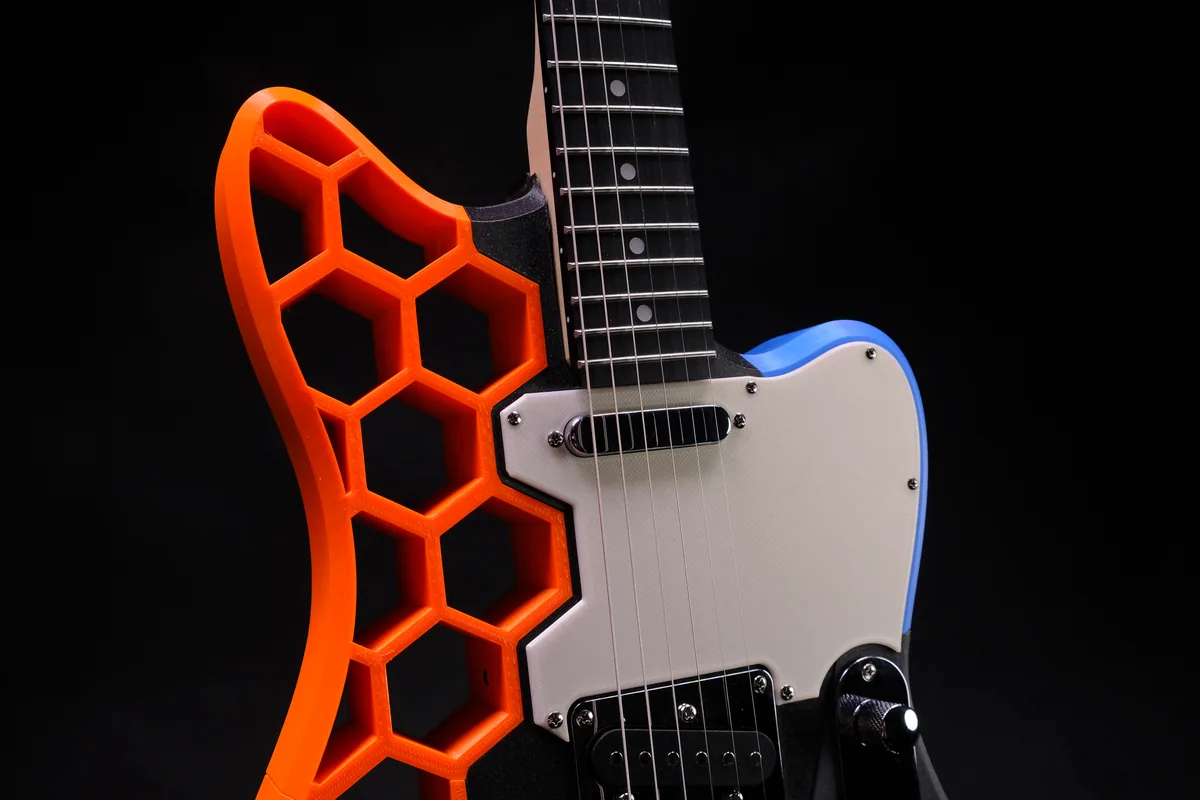
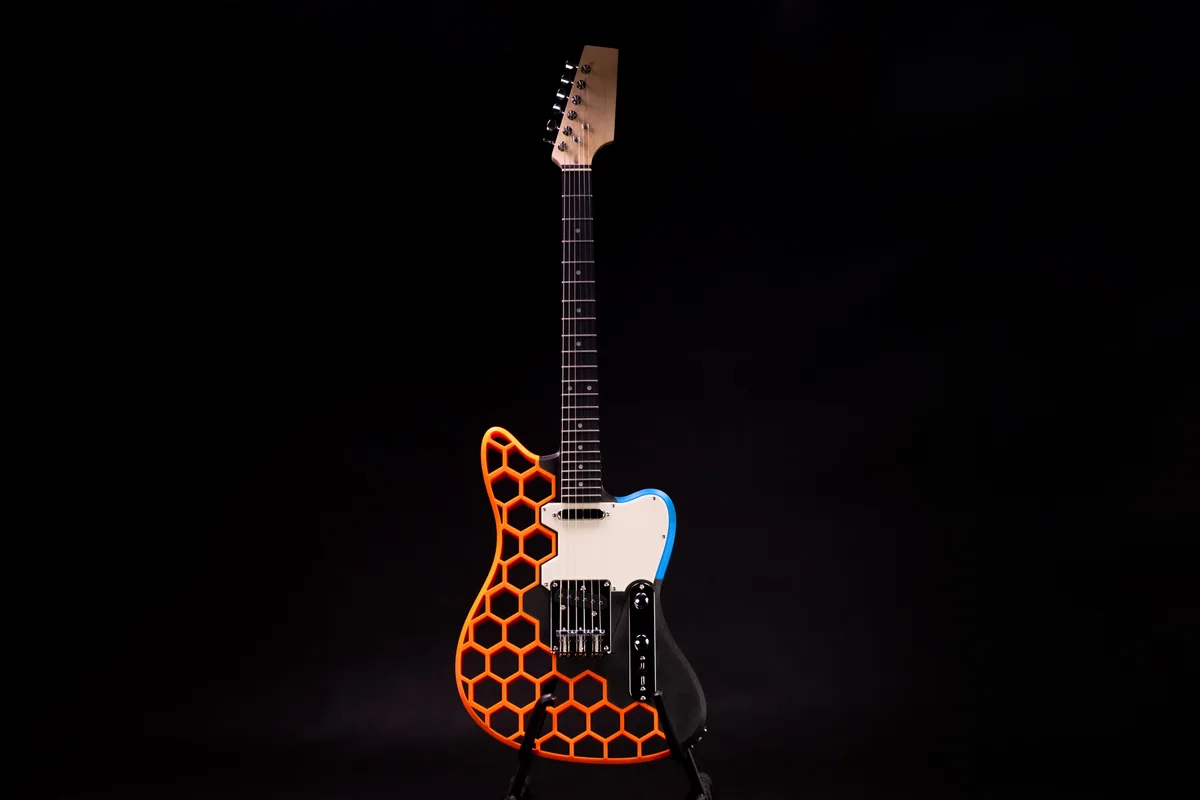
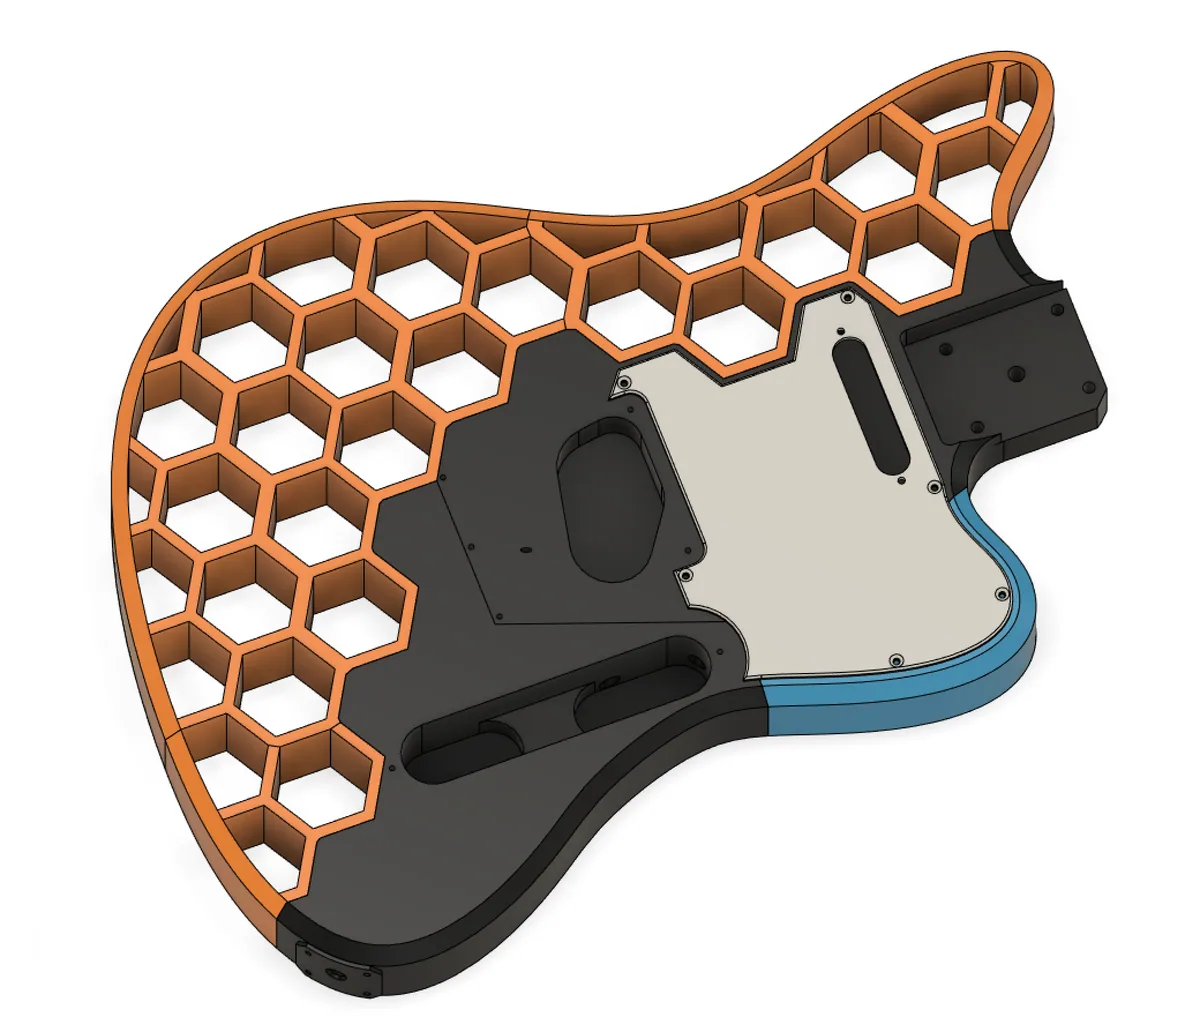
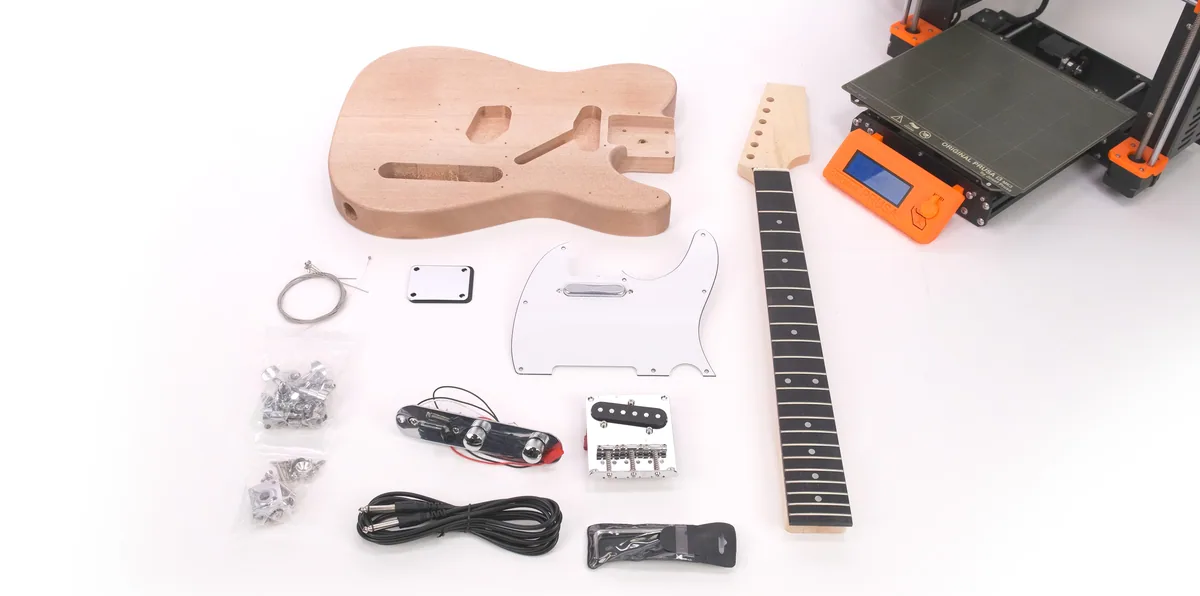
The Prusacaster is Prusa Research's printable electric guitar. It's the body of a Telecaster-style guitar, reshaped with a hexagon pattern and split into a handful of pieces that each fit on a standard MK3-sized bed. Everything else, the wooden neck with frets and truss rod, the pickups, bridge, control plate and output jack, comes from one inexpensive T-style hardware kit. That makes the build mostly a case of ordering the kit, printing the parts and gluing them together.
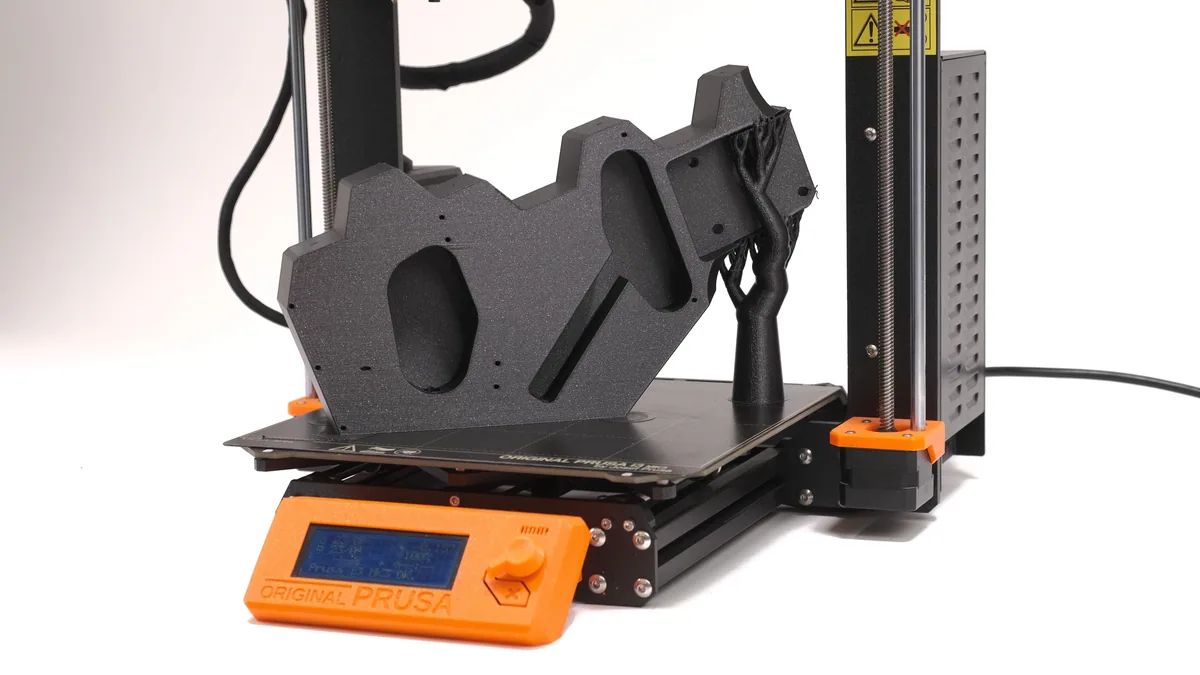
The thinking behind it is set out in a long article on the Prusa blog, and it's worth reading before you start. A guitar's strings pull with roughly 50 kg, so the section between the neck and the bridge is printed as one piece. The hexagon seams hide the joins between the other parts. The Telecaster bridge was chosen because its large plate and widely spaced screws spread the load over the printed body.
Who it's for. It suits makers who want a playable instrument rather than a novelty, and guitarists curious about printing their own. No soldering is needed with the recommended kit, because its wiring snaps together with connectors.
Sound and playability. The designer reports that it stays in tune, intonates well and plays much like a normal budget electric guitar. That makes sense, since the neck and electronics are ordinary guitar parts. The printed body mainly has to stay stiff and straight. The main risk is slow bending of the centre piece under string tension, which the article solves with heavier perimeters and infill. Watch the Prusa video below to hear it.
What you'll need
Printed parts
- The large centre piece that carries the neck and bridge
- Three hexagon-pattern upper body pieces
- Two lower body pieces (one holds the controls)
- A pickguard, which also mounts the neck pickup
- Exact part names and count are in the download; the Printables page shows an overview picture
Bought parts
- A Harley Benton Electric Guitar Kit T-Style (Thomann): neck with tuners, two single-coil pickups, bridge, control plate with switch and knobs, output jack, pre-wired with connectors
- Light-gauge guitar strings (the article suggests 9s to reduce the load on the body)
- Superglue
- Optional: M3 screws for the hexagon pieces
Tools
- A printer with at least a 25 × 21 cm bed
- Basic screwdrivers for the kit hardware
- A tuner, for setting intonation
The kit has shipped in more than one version. The designer suggests waiting until your kit arrives before printing; remixes on Printables cover the variant with a three-hole bridge.
Build overview
Our outline of the build article on the Prusa blog; follow it for the details.
- Check your kit first. Confirm which version of the T-style kit you received, and print the matching parts (or a remix) for its bridge.
- Print the centre piece strong. Use a stiff material and many perimeters for the part between neck and bridge; the rest can use default settings and any colour.
- Glue the body together. Bond the outer pieces to the large centre piece with plenty of superglue. The optional M3 screws add strength for strap use.
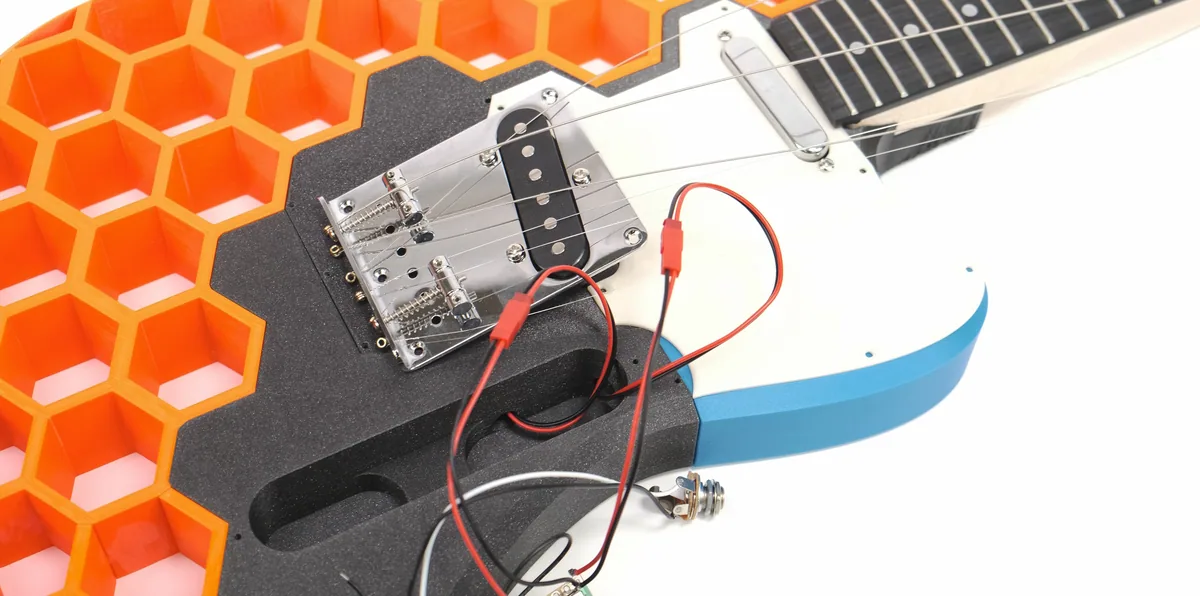
- Fit the hardware. Mount the neck, bridge, pickguard with pickup and the control plate with the kit's screws, then snap the wiring connectors together, matching each pickup to the right side of the switch.
- Ground the strings. Route the loose black ground wire through the channel under the bridge and clamp it under the bridge to cut down on hum.
- String up and set intonation. Tune, then compare each string open and at the 12th fret and move the bridge saddles until both agree.
Print settings
- Centre piece: PLA is fine and very stiff; 7 perimeters and 25% cubic infill stopped the slow bending the designer saw with default settings
- Hot climates: A stiffer, heat-resistant filament (carbon-fibre PC or PA blends) avoids softening in a hot car or case
- Other parts: Default profiles, any material
- Supports: The centre piece can print without supports; organic supports give nicer overhangs
Video
 Play video: How to 3D print a guitar: the challenges, the sound and the cost (loads YouTube)
Nothing loads from YouTube until you press play. Video thumbnails are © their creators.
Notes from makers
- Several readers found that the hardware kit has changed over time: some kits arrive with a different bridge or a deeper pickup that don't match the original files. Check what you received before you print, and look at the remixes.
- Outside Europe, shipping the recommended kit can cost more than the kit itself. Cheaper look-alike T-style kits from other shops often don't line up with the printed holes.
- The centre piece only just fits an MK3-sized bed. Makers got it to slice by rotating it and reducing the brim or skirt distance.
- There are no strap button holes in the original; a remix adds them with heat-set inserts.
Summarised from reader comments on the Prusa blog article, read 20 October 2026.
Photos
All photos: Mikolas Zuza, from the design page on Printables, licensed CC BY-NC. We resized them and converted them to WebP.