
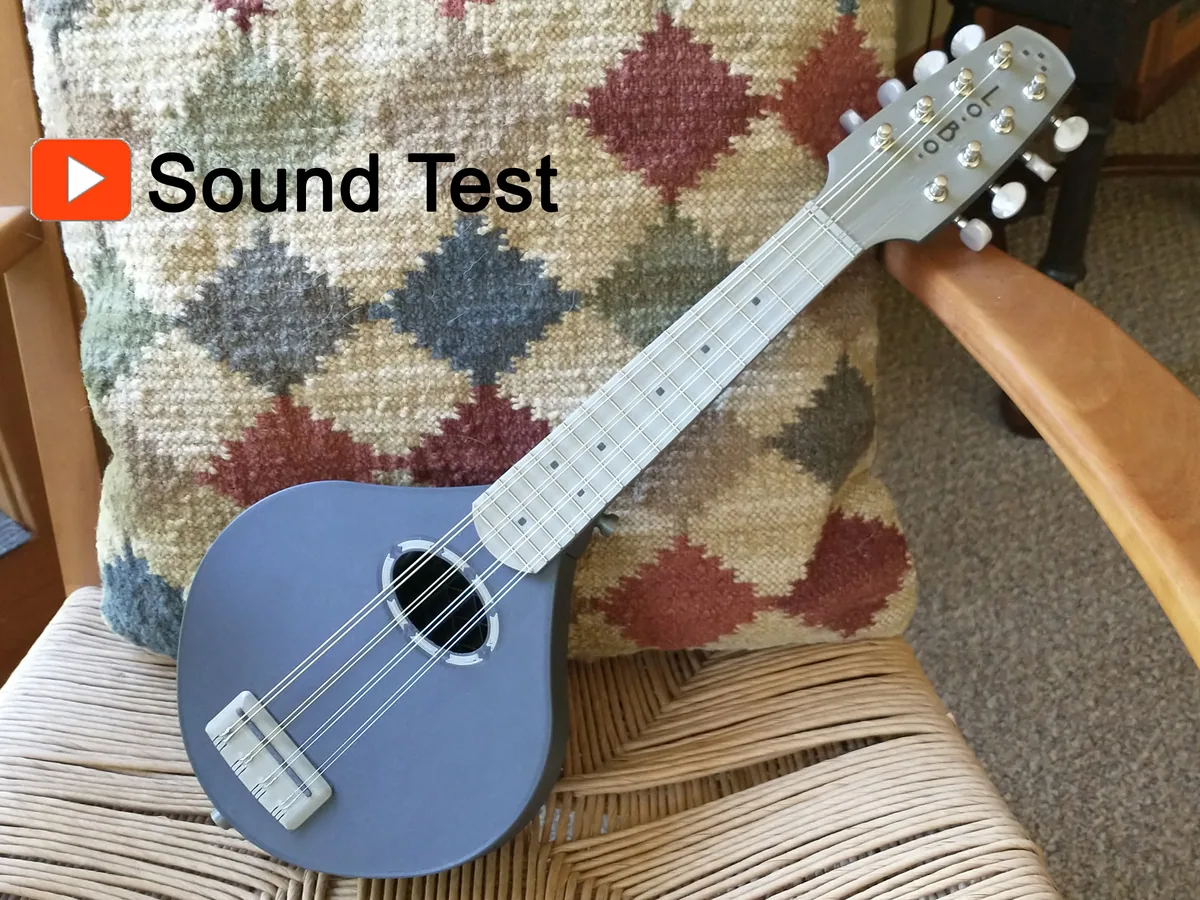
About the Steel String Mandolin
Steel strings pull hard: about 150 lb (roughly 68 kg) in total on this mandolin. That's the central problem for any plastic instrument, because the body must not collapse and must not slowly creep out of shape. The designer, who had already printed a steel-string guitar, answers it with aluminium. Ribs cut from thin sheet aluminium brace the soundboard and stiffen the neck, acting like a fixed truss rod. Internal diagonal struts stop the body flexing.
To keep a full 13.5-inch scale on an 18 × 18 cm bed, the bridge sits near the end of the body, and a guitar-style fixed bridge replaces the usual floating bridge and tailpiece. The top is only three layers thick, braced underneath with an exposed triangular infill lattice instead of modelled ribs. The back uses the same trick. Supplied 3MF project files carry the specific wall and infill settings each part needs. They also handle a 'print-on-print' inlay on the top and headstock, where a thin contrasting layer is printed first and the main part is printed over it.
Filament. After several builds, the designer found that the carbon-fibre PLA he tried added nothing over plain PLA. Plain PLA is very stiff, but it softens with heat, so don't leave the mandolin in a hot car or in the sun.
Who it's for. Experienced makers who are comfortable cutting and shaping aluminium, fretting a neck and mixing epoxy. The two demo videos show the result being played.
What you'll need
Printed parts
- Body, top and back (with their lattice bracing)
- Neck and headstock plate with inlay
- Bridge
- Full part list is in the download and PDFs
Bought parts
- 1/16 in sheet aluminium, about 12 × 6 in
- Straight fret wire
- Tuners with 25 mm post spacing
- Strings: 10–34 light 80/20 bronze, loop end
- 3 × 6-32 × 3/8 in screws (bridge), 2 × 8-32 × 1/2 in screws (strap pins)
- 1 × 1/4-20 × 1.375 in socket cap bolt, 2 washers and a nut (bolt-on neck)
- Slow-setting two-part epoxy (30 minutes or longer)
Tools
- Tools to cut and bend sheet aluminium
- Fretting tools (the Fret Lengths PDF gives the positions)
- A printer with at least an 18 × 18 cm bed
Build overview
Our outline. The designer's description, Bracing.pdf and FretLengths.pdf have the detail.
- Print with the supplied 3MF files. They hold the per-part walls and infill, plus the custom G-code for the print-on-print inlays.
- Make the aluminium ribs. Cut and fit the soundboard braces and neck stiffeners from sheet aluminium, following Bracing.pdf.
- Glue up the body. Bond the top, back, struts and ribs with slow-setting epoxy.
- Fret the neck and bolt it on. Fit the fret wire at the positions in FretLengths.pdf and attach the neck with the socket cap bolt.
- Fit the hardware and string it. Mount the bridge, strap pins and tuners, then bring the strings up to pitch.
Print settings
- Material: Plain PLA worked as well as or better than the carbon-fibre PLA tried
- Settings: Per part, in the supplied 3MF files
- Top and back: Thin solid skin plus an infill-only lattice (10% triangular) for bracing
- ? Heat: Plain PLA softens in a hot car or sun
Videos
 Play video: 3D printed mandolin, demo 1 (loads YouTube)
 Play video: 3D printed mandolin, demo 2 (loads YouTube)
Nothing loads from YouTube until you press play. Video thumbnails are © their creators.
Photos
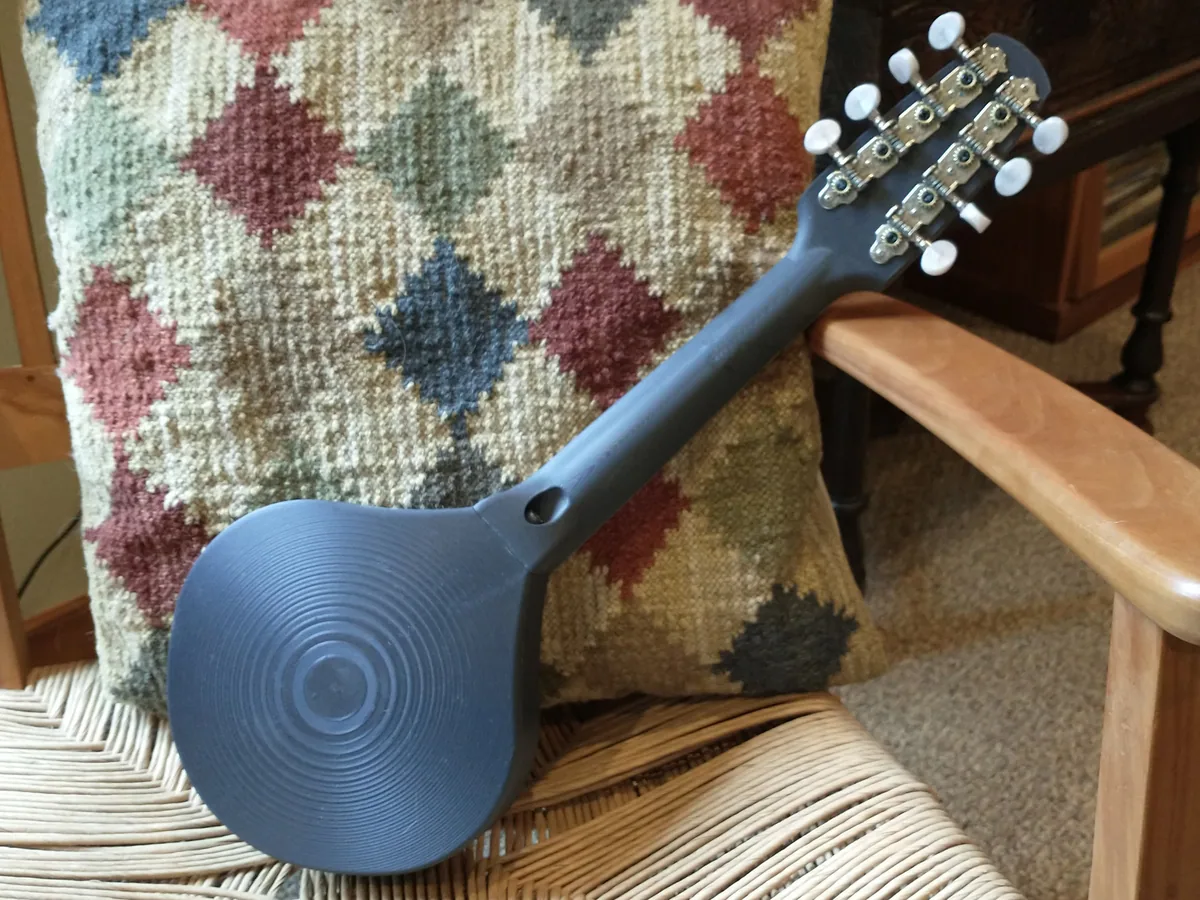
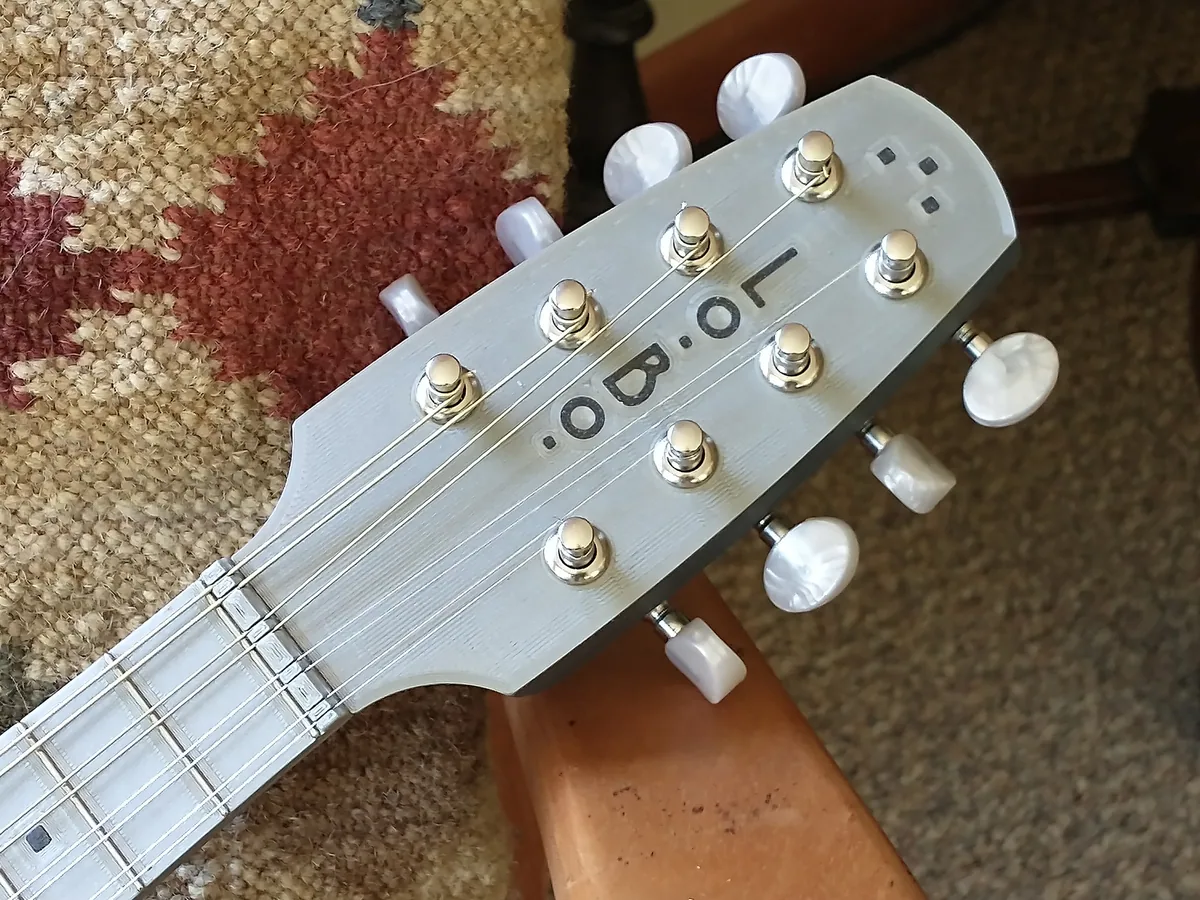
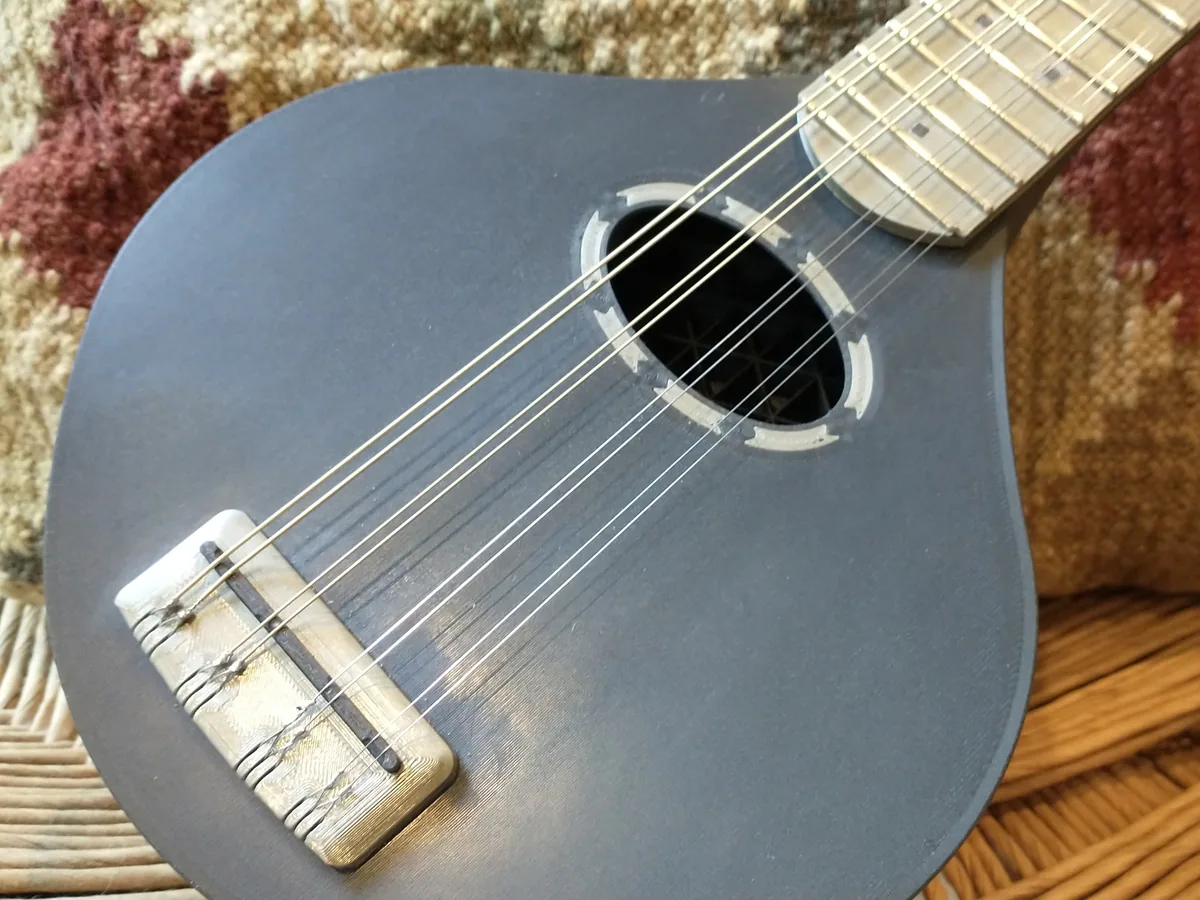
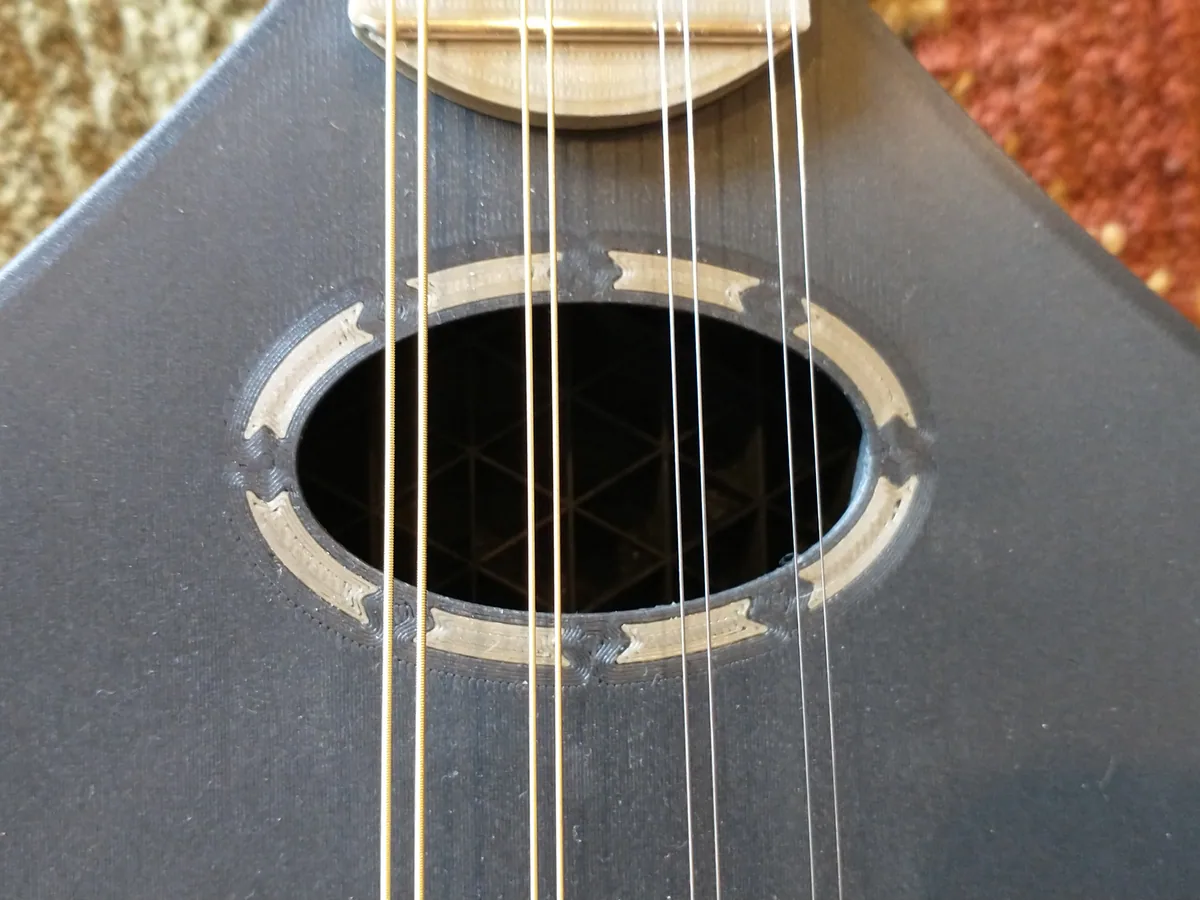
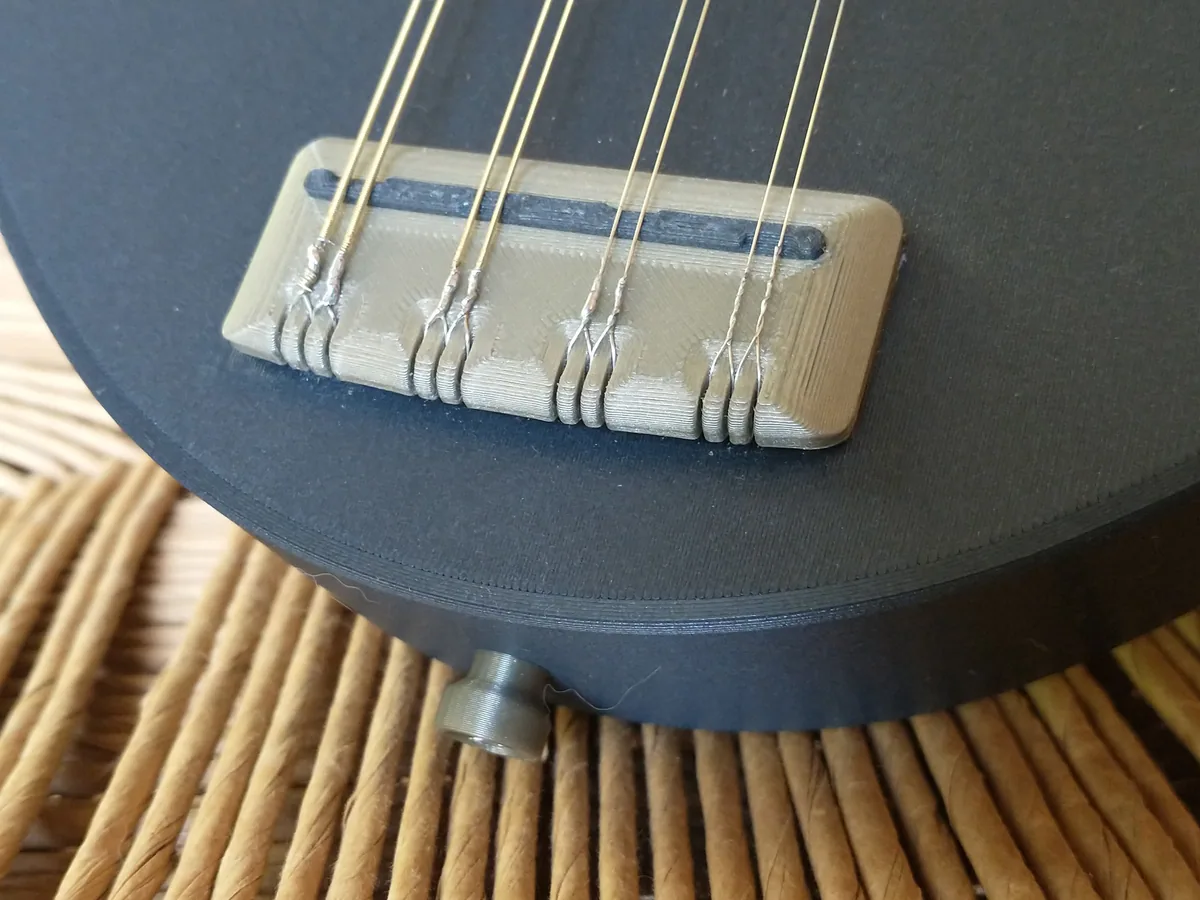
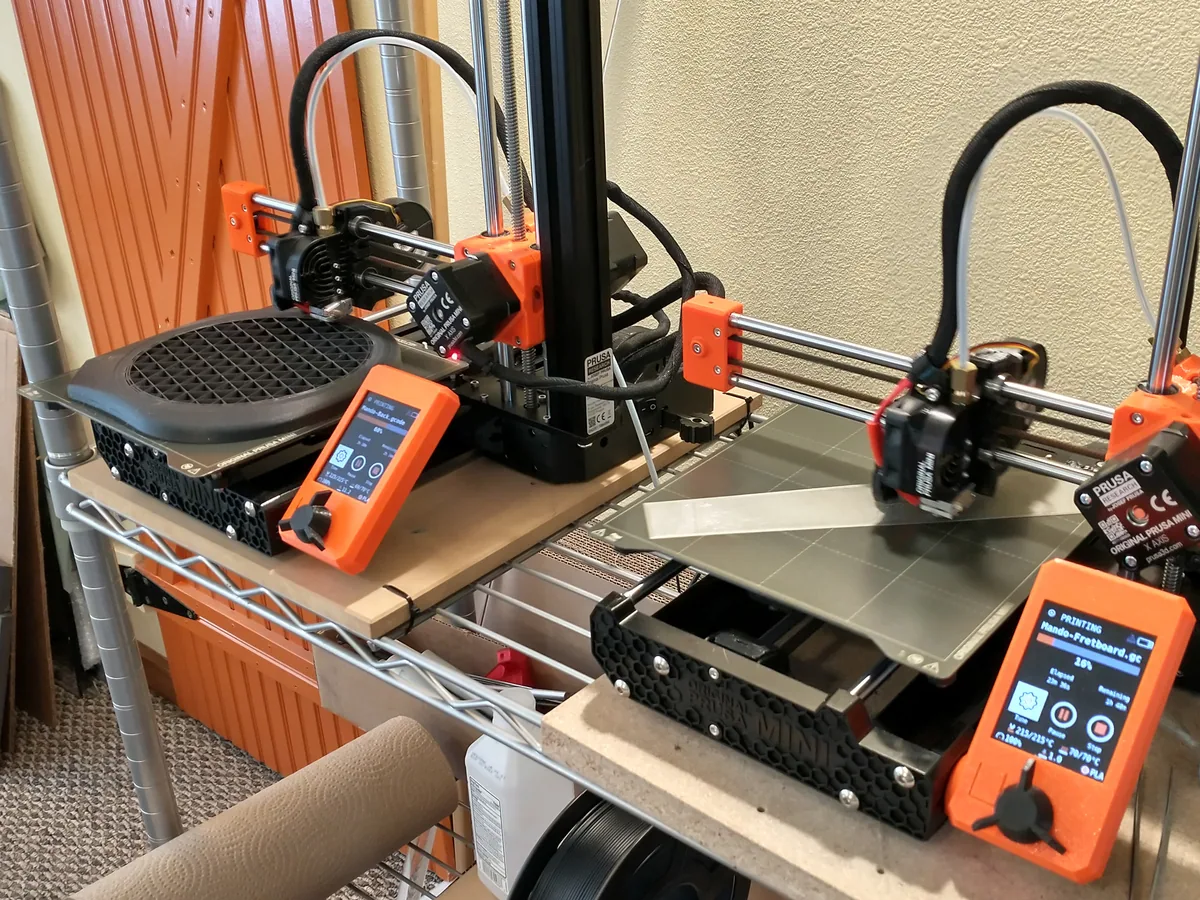
All photos: LoboCNC, from the design page on Printables, licensed CC BY-SA. We resized them and converted them to WebP. These adapted versions are shared under the same licence.
2 more photos on Printables ↗