
About the Chromatic Mbira
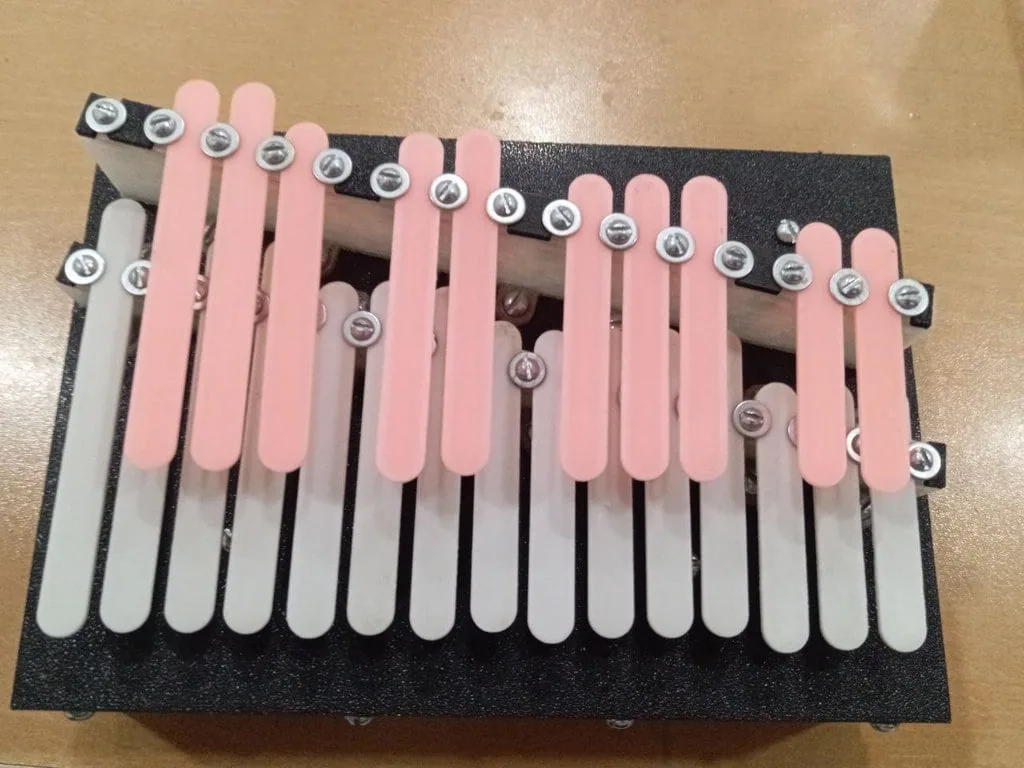
Most kalimbas only play one scale. This mbira-style thumb piano is chromatic: one row of tongues plays the naturals (the 'white keys'), and a second row plays the sharps and flats ('black keys'). Like the 17-key kalimba, the tongues are printed plastic and slide under clamping bridges to tune. Shorten one to raise the note, or lengthen it to lower it. The designer tuned theirs over two octaves, E2 to E4.
It's quiet. The designer turned up the sound in the videos and pitches it as a practice instrument you can play without bothering anyone. Tuning works best by ear as well as with a tuner, because phone apps can misread a soft note. Tune all the naturals before fitting the sharps, since they're hard to reach afterwards. It will drift with big temperature changes.
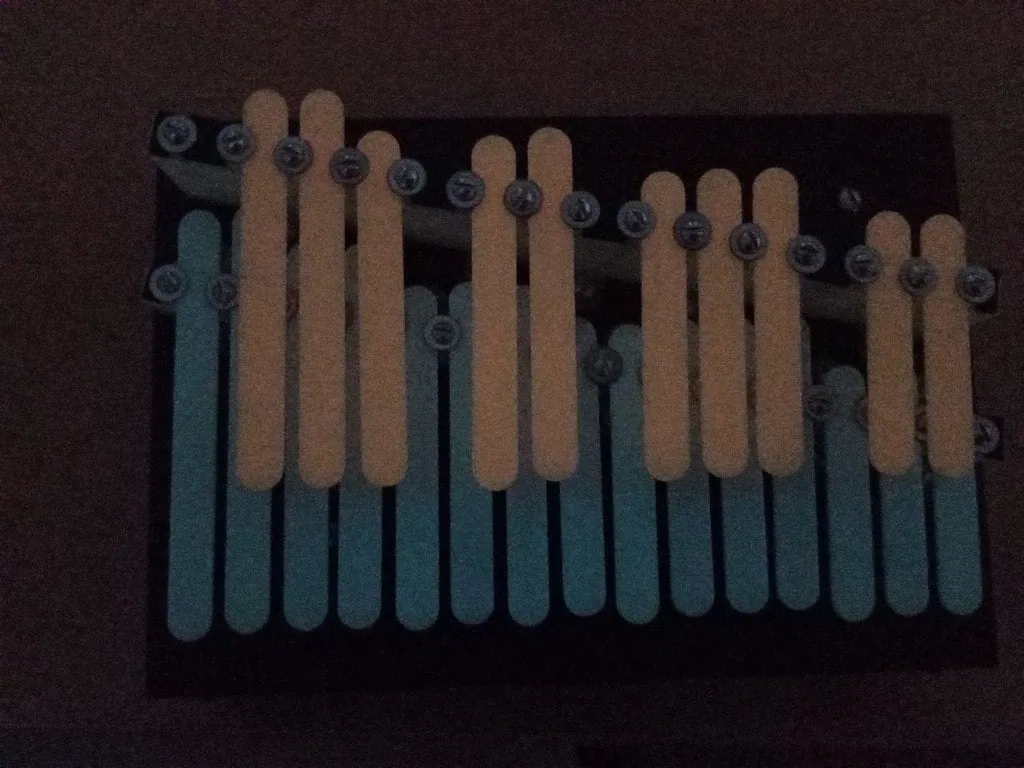
The designer is candid about the rough edges. The higher notes have some noise, the body could be stiffer, the screw holes are slightly off-centre, and neighbouring tongues are easy to brush by accident. The box is also a little short for resting your hands. Bigger and smaller versions were planned. Glow-in-the-dark filament in two colours makes the rows easy to tell apart, as seen in the photos.
Who it's for. Players who want a chromatic thumb piano and makers who enjoy fine-tuning.
What you'll need
Printed parts
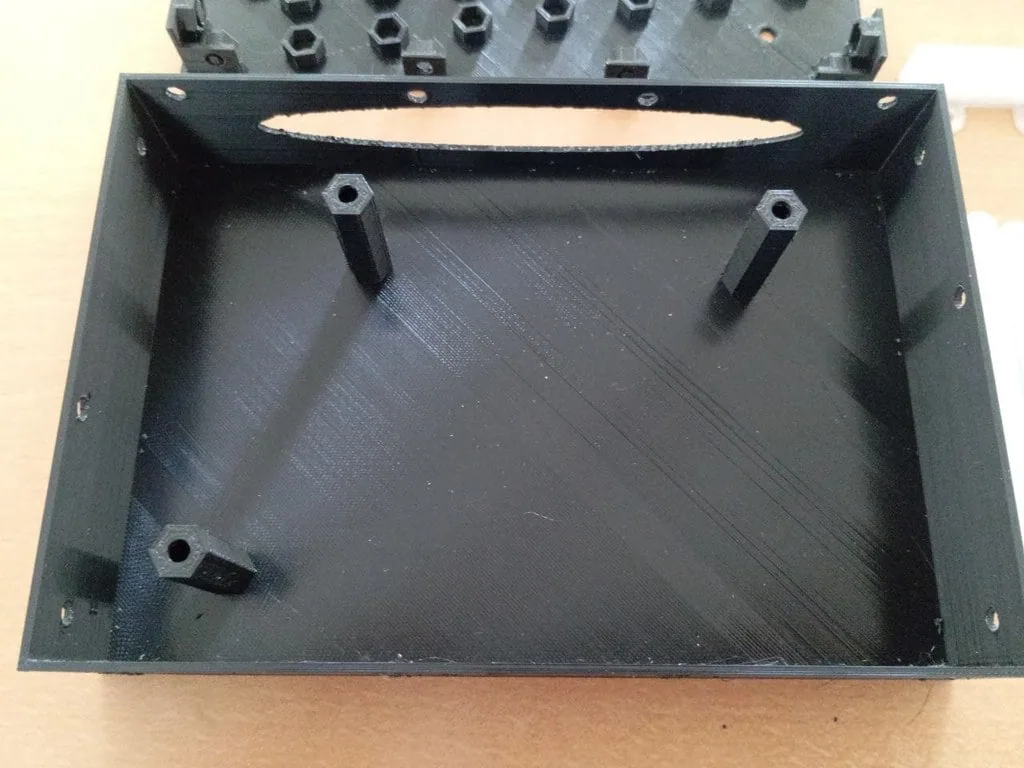
- Box top and box bottom
- Sound bridges for the natural and sharp rows
- Tongue fillers (ends and centres)
- Tongues: 15 naturals and 10 sharps in set lengths from 60 to 100 mm
Bought parts
- 31 × M3 screws (8 to 15 mm) with nuts and washers, for the bridges
- 44 × M4 screws (8 to 20 mm) with nuts and washers, for the body
- Glue (the designer used UV resin) to hold nuts in place
- Grippy silicone anti-slip pads
Tools
- Screwdrivers
- A tuner, plus your ears
Build overview
- Print and clean up. Remove supports from all the parts.
- Prepare the nuts. Glue the nuts that sit in hard-to-reach spots in the box top.
- Fit the bridges. Fit screws, nuts and washers to both sound bridges and screw them to the box top, aligning the sharps bridge carefully.
- Close the box. Screw the top to the bottom, check it sits flat and add anti-slip pads.
- Fit and tune. Fit and tune the natural tongues first, then the sharps, filling gaps with the tongue fillers. Tighten everything firmly to avoid buzzes.
Print settings
- Material: PLA or stiffer; PETG probably fine; not TPU, and ABS is doubtful
- Infill: 100% recommended, and essential for the tongues
- Walls: 2 mm worked, though thicker would be better
- Supports: Light supports with 0.4–0.6 mm Z distance
Videos
 Play video: Chromatic mbira demo (loads YouTube)
 Play video: A tune played on it (loads YouTube)
Nothing loads from YouTube until you press play. Video thumbnails are © their creators.
Photos
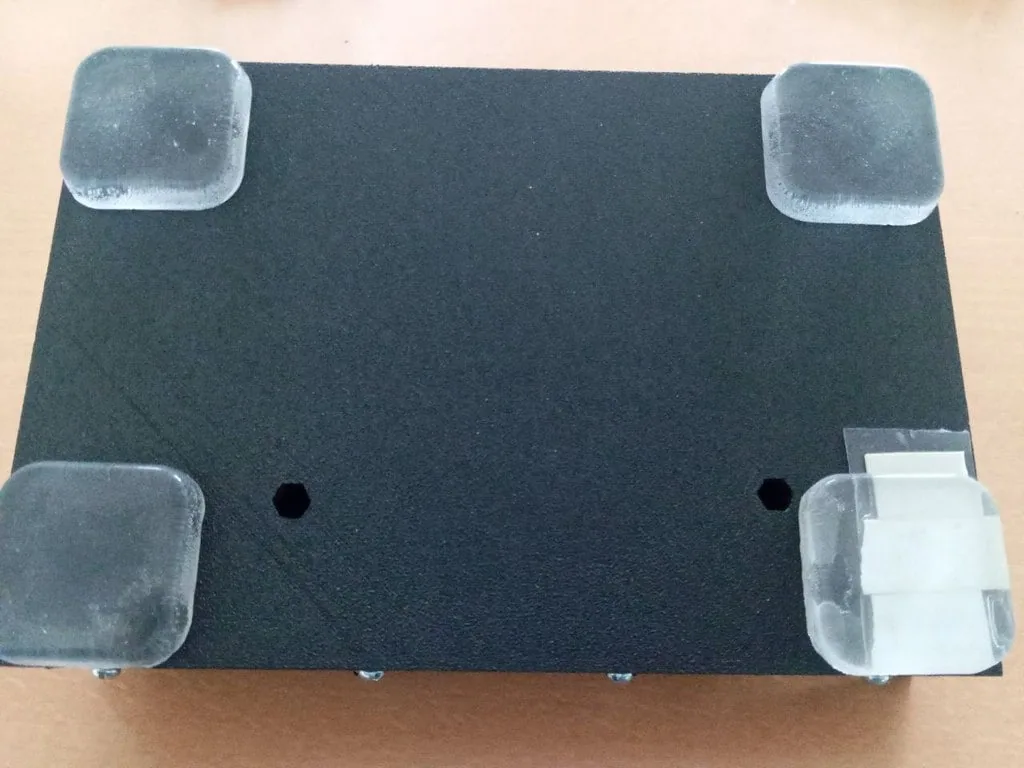
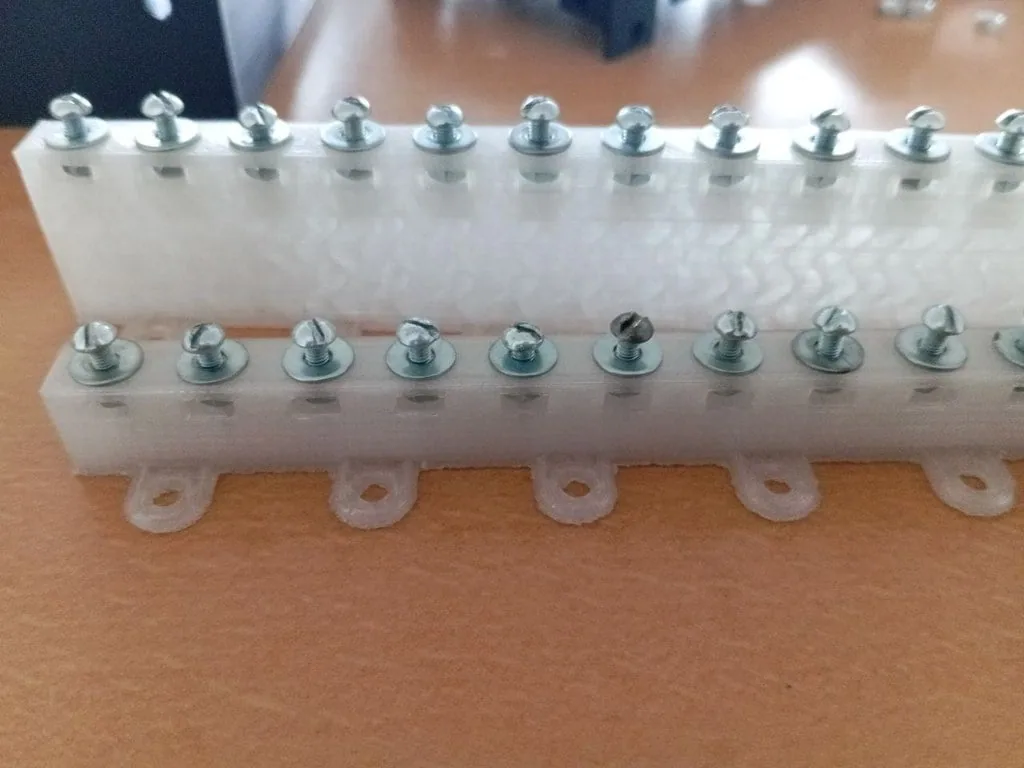
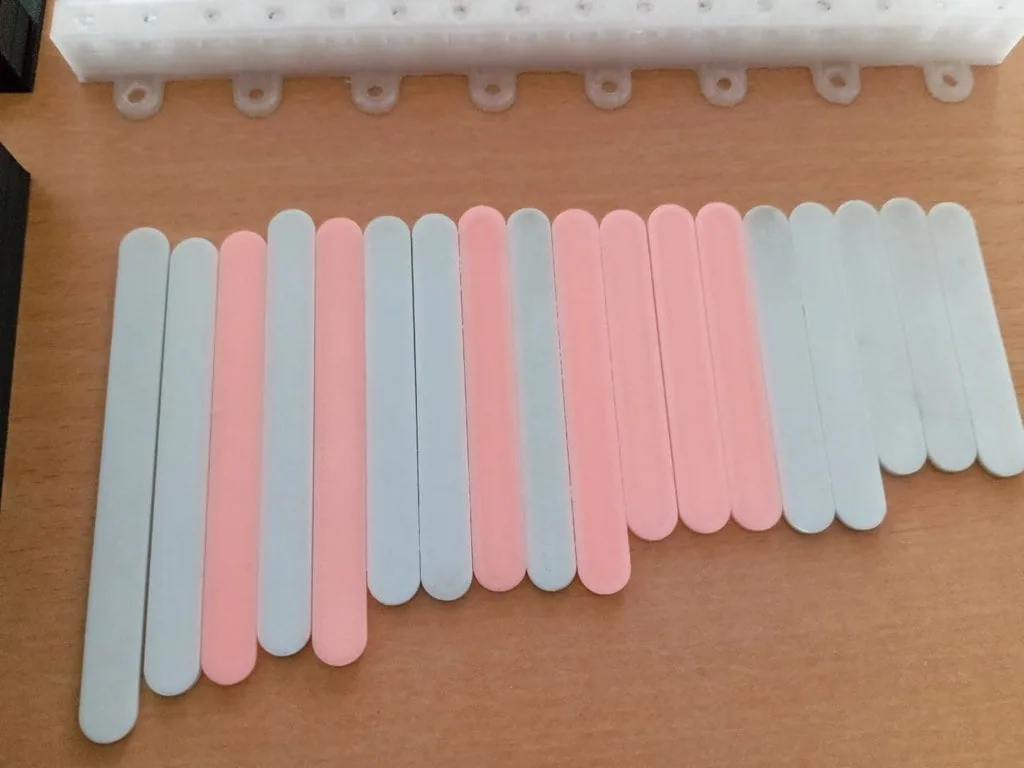
All photos: muradyan_75, from the design page on Printables, licensed CC BY-SA. We resized them and converted them to WebP. These adapted versions are shared under the same licence.
17 more photos on Printables ↗