
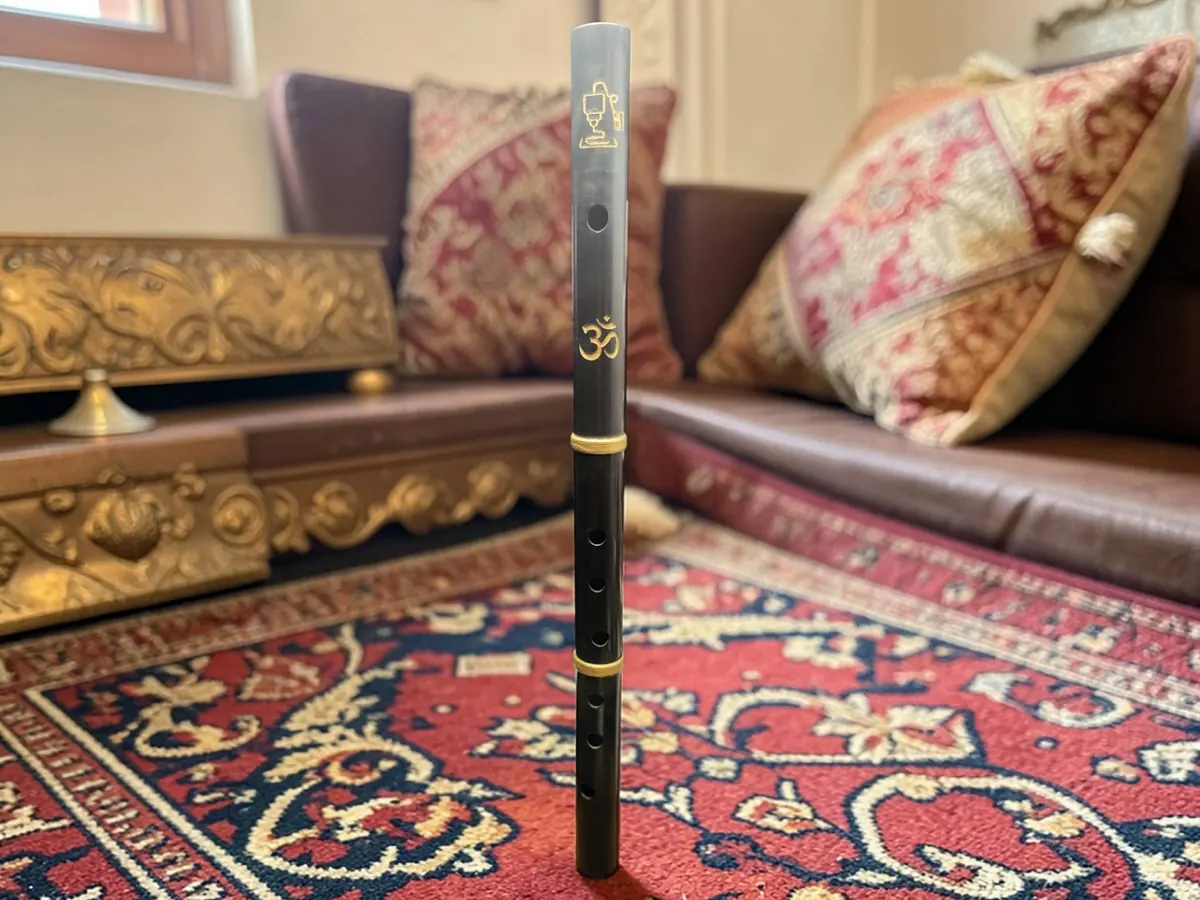
About the Bansuri
A traditional six-hole North Indian bansuri, the side-blown flute of Hindustani classical music. Odell Creations made it with the flute maker Wayfinder7, who wrote the guide. They say it has been rigorously tested and is in tune. Sa, the tonic, is B with the first three holes closed, and all holes closed gives F#. The fingering matches an Irish flute, so Irish flute players can pick it up quickly. Like a real bansuri it has a large cylindrical bore and large finger holes.
It prints in three jointed pieces with no supports. A small joint test print lets you check the fit before you print the whole flute. The guide recommends PLA or PLA Silk at 205 °C, 60 mm/s and very fine layers. Its text says "12mm", which must mean 0.12 mm. Expect several hours of printing. Joints should be snug; if one is too tight, take a little off the male side with 150-grit sandpaper. You can scale the flute up or down, but the pitch changes with it.
Sealing matters. The guide stresses that air must not leak at the joints. Use super glue gel for a permanent seal, or Teflon (PTFE) tape if you want to take it apart again. If a joint wiggles, it isn't sealed. The decorations in the photos are hand-painted with enamel or acrylic. The guide also has beginner playing tips: start with all holes open, keep the bore free of stringing, and cover the holes fully (the "piper's grip" helps). Don't expect more than about an octave and a half unless you're an experienced player.
What you'll need
Printed parts
- Head joint, middle and foot (3 pieces)
- Optional: the joint tolerance test, and a version with a lip plate on the head joint
Bought parts
- Super glue gel (for permanent joints) or PTFE (Teflon) tape (to keep it take-apart)
- Optional: enamel or acrylic paint for the decorations
Tools
- A 3D printer
- 150-grit sandpaper
- Fine sandpaper on a dowel for any rough spots in the bore
Build overview
Our own outline of the designer's PDF guide, which is on the MakerWorld page.
- Test the joint fit. Print the joint tolerance test first and check the fit.
- Print the flute. PLA or PLA Silk at 205 °C, 60 mm/s and fine (about 0.12 mm) layers, no supports.
- Check the bore. Make sure the inside is smooth, with no strings or ridges.
- Assemble. Line up the small arrows on the back. The head goes at the end away from the offset sixth hole. Ease a joint that's too tight with 150-grit sandpaper.
- Seal the joints. Use super glue gel (permanent) or PTFE tape (removable). No wiggle should be left.
- Play. Start with all holes open, then add fingers from the bottom hole up.
Print settings
- Material: PLA or PLA Silk
- Nozzle temperature: 205 °C
- Speed: 60 mm/s throughout
- Layer height: About 0.12 mm (the guide says "12mm")
- Supports: None
Photos

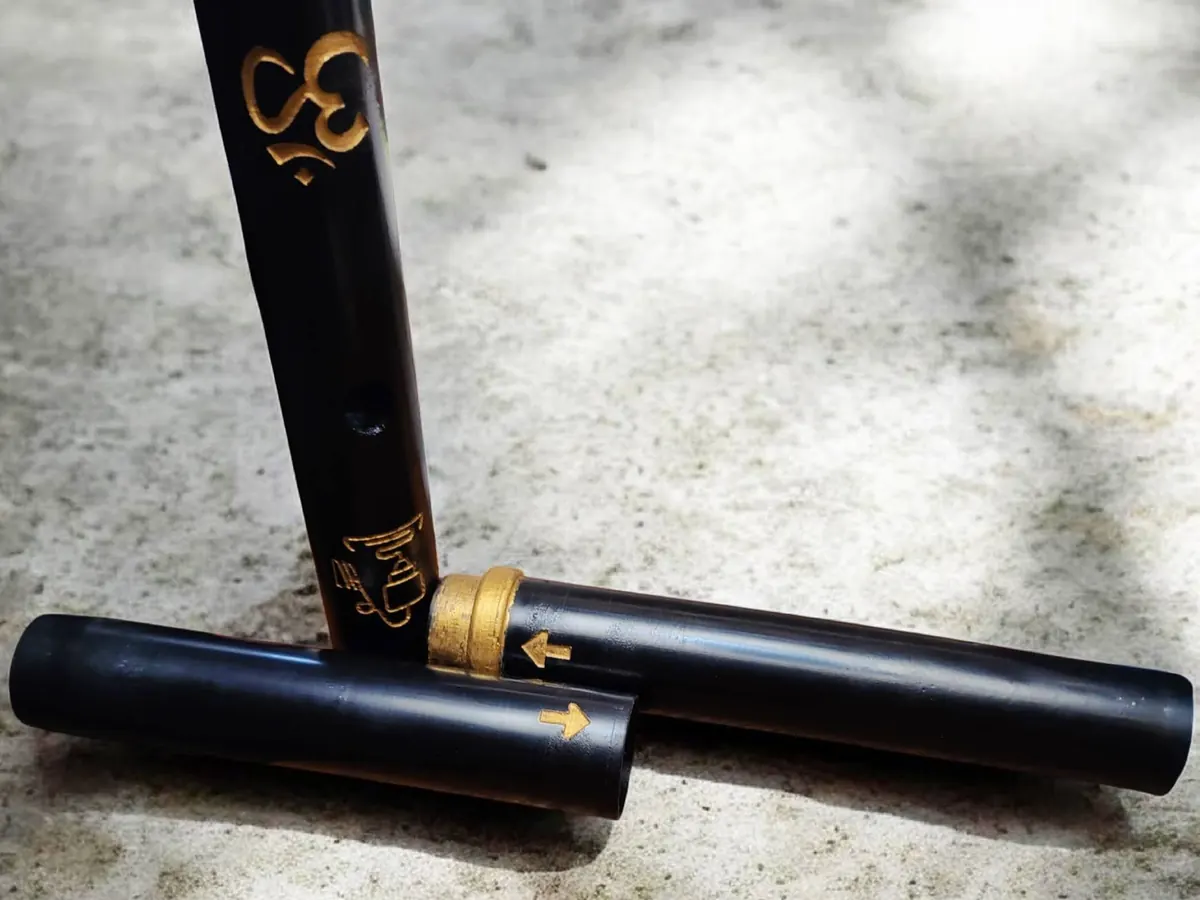
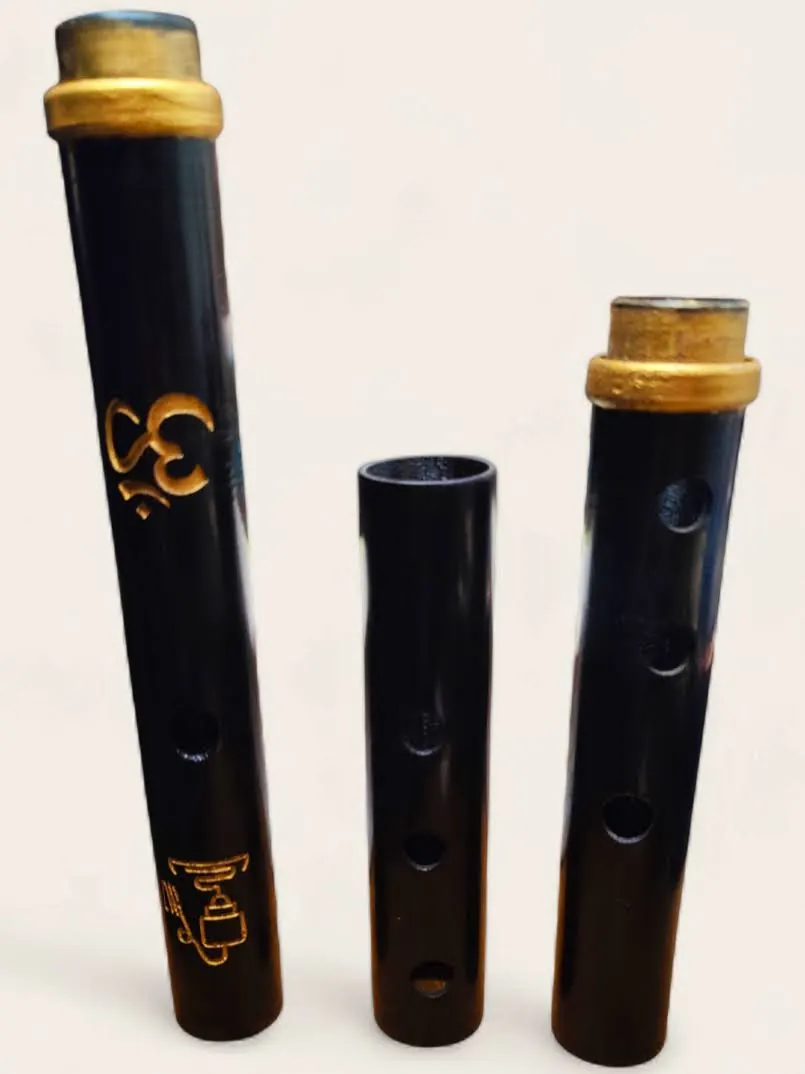
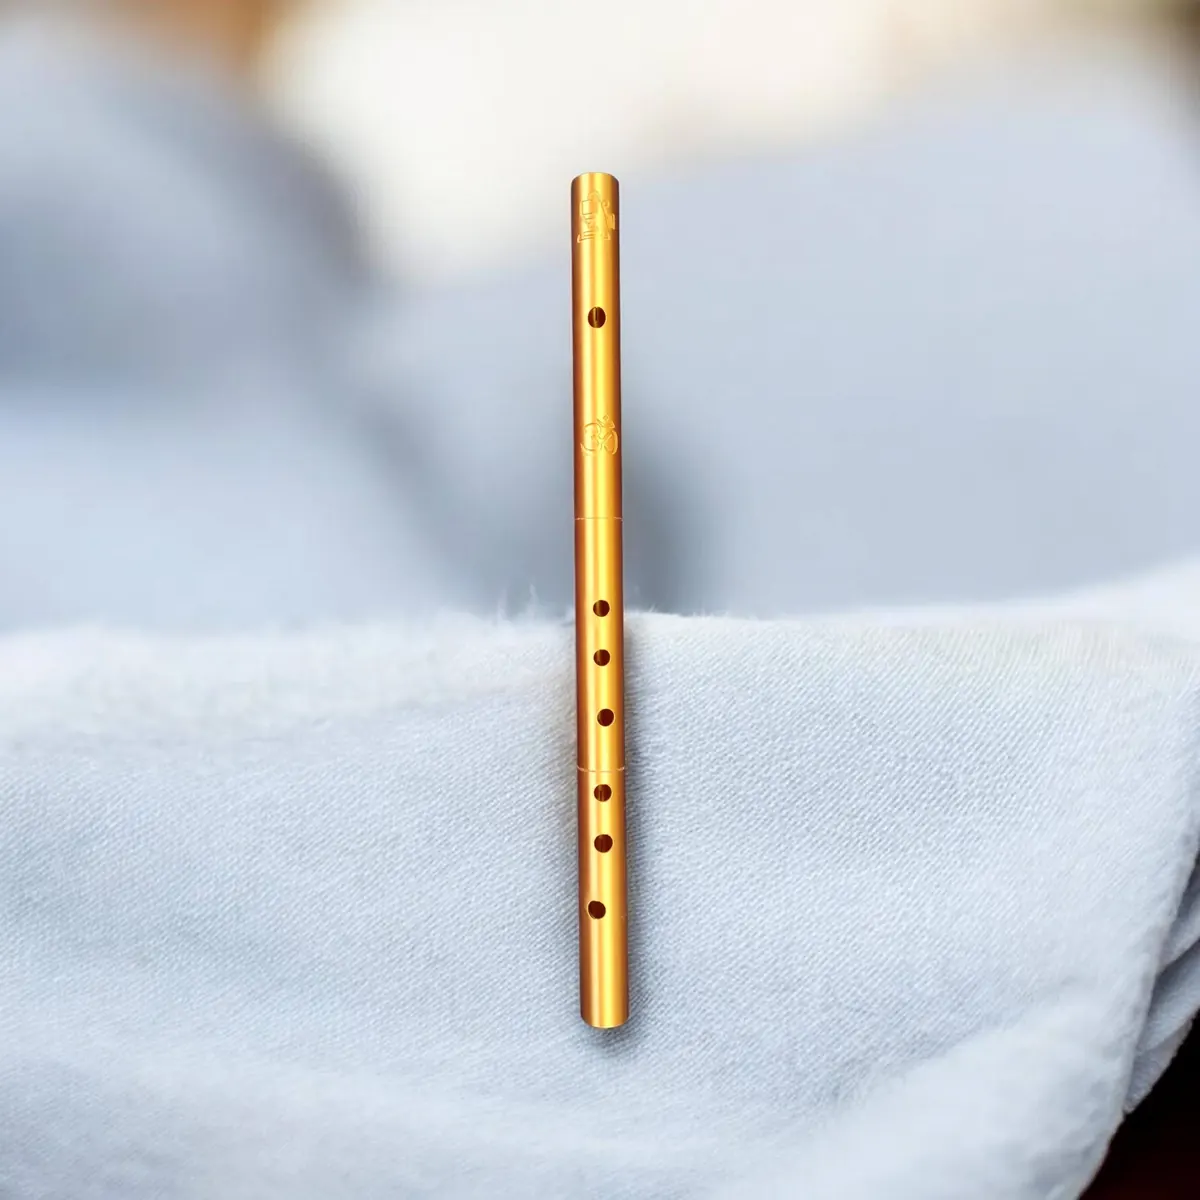
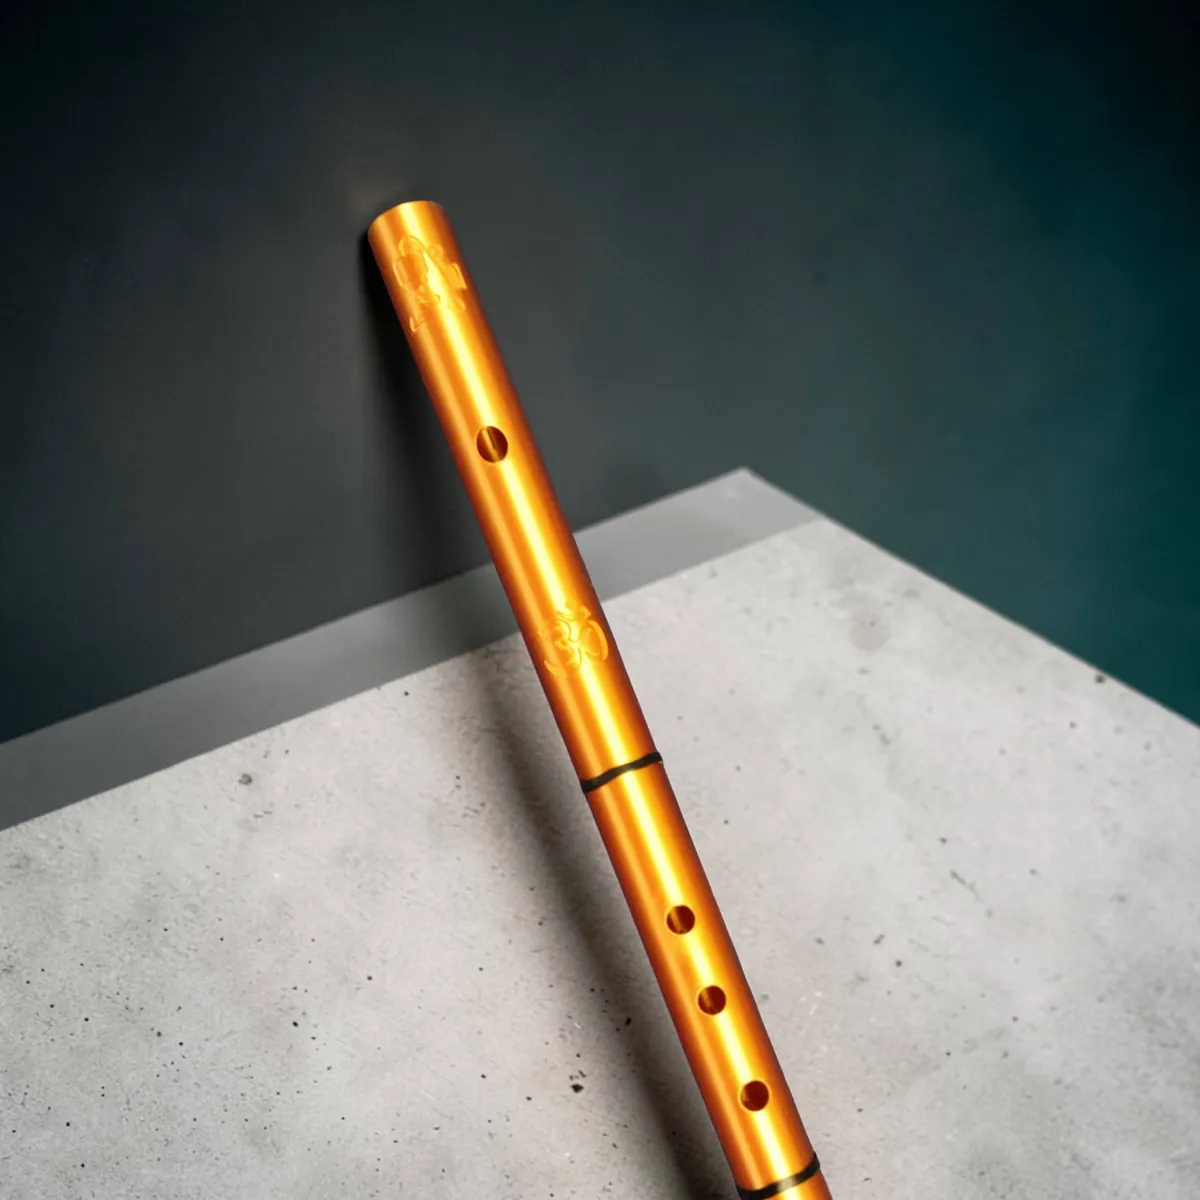
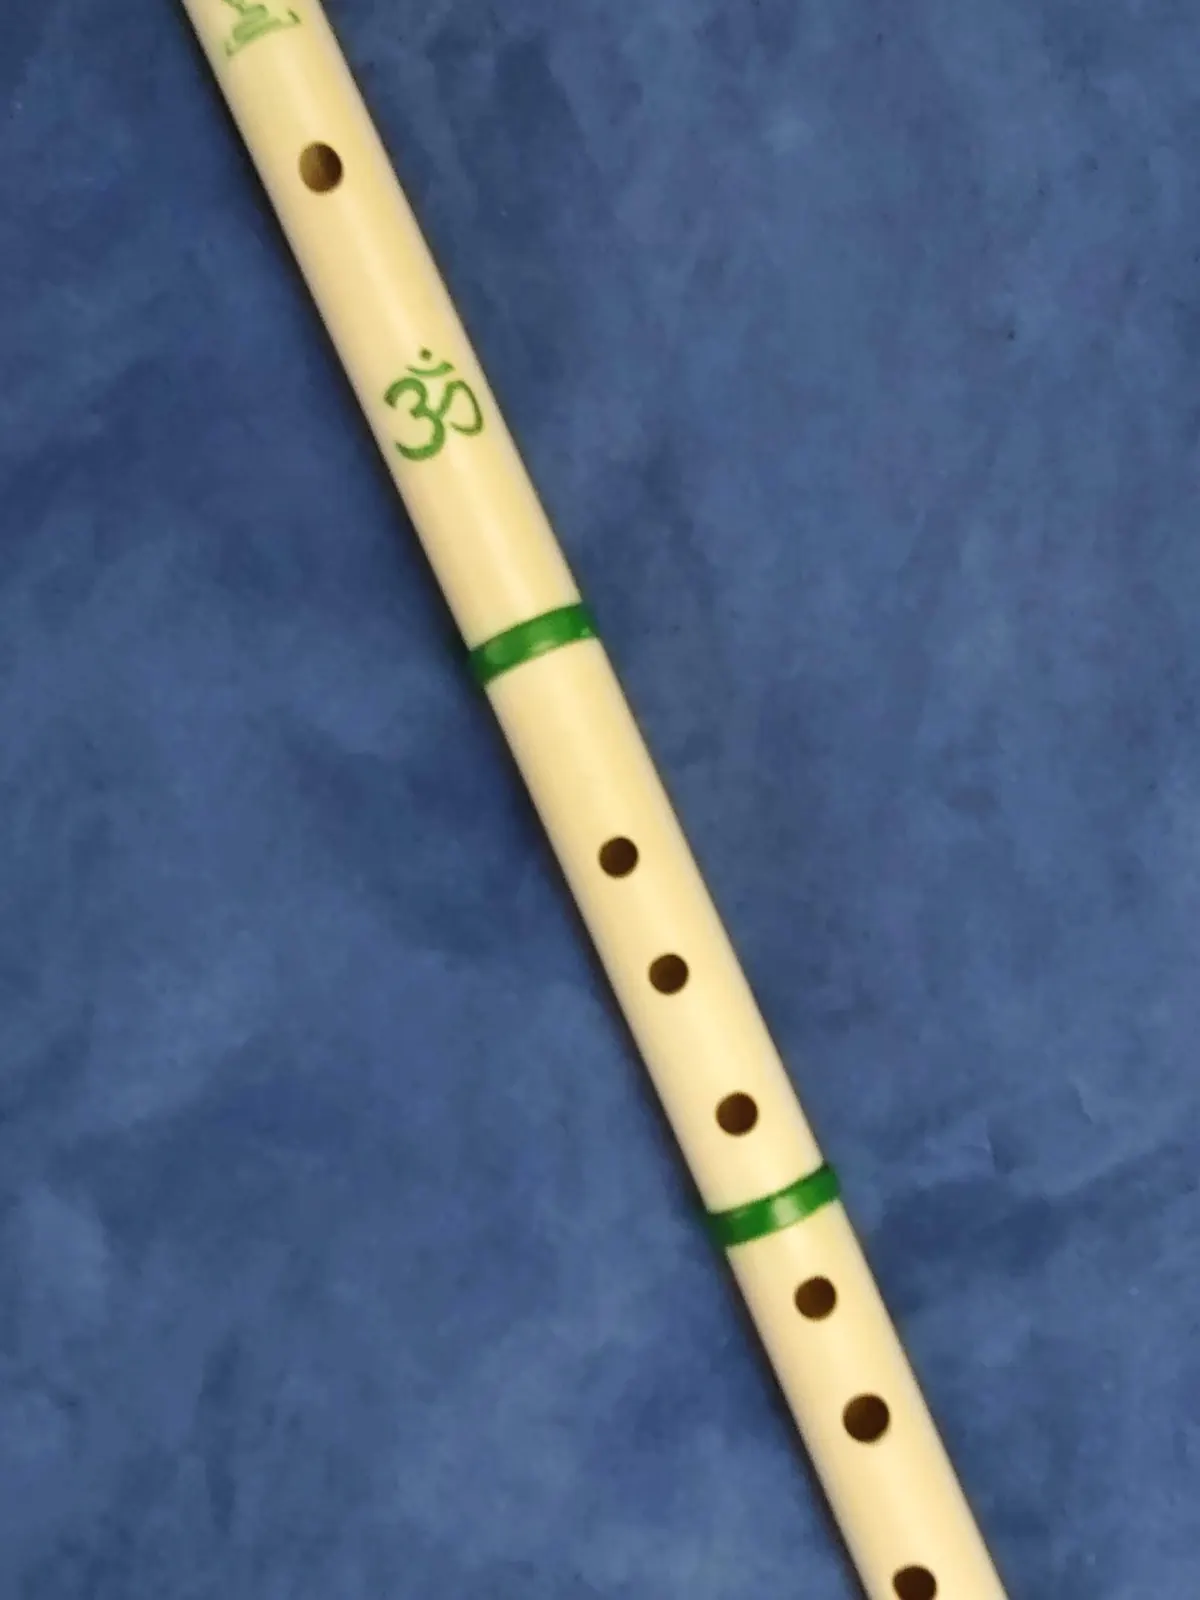
All photos: Odell Creations, from the design page on MakerWorld, licensed CC BY-SA. We resized them and converted them to WebP. These adapted versions are shared under the same licence.