
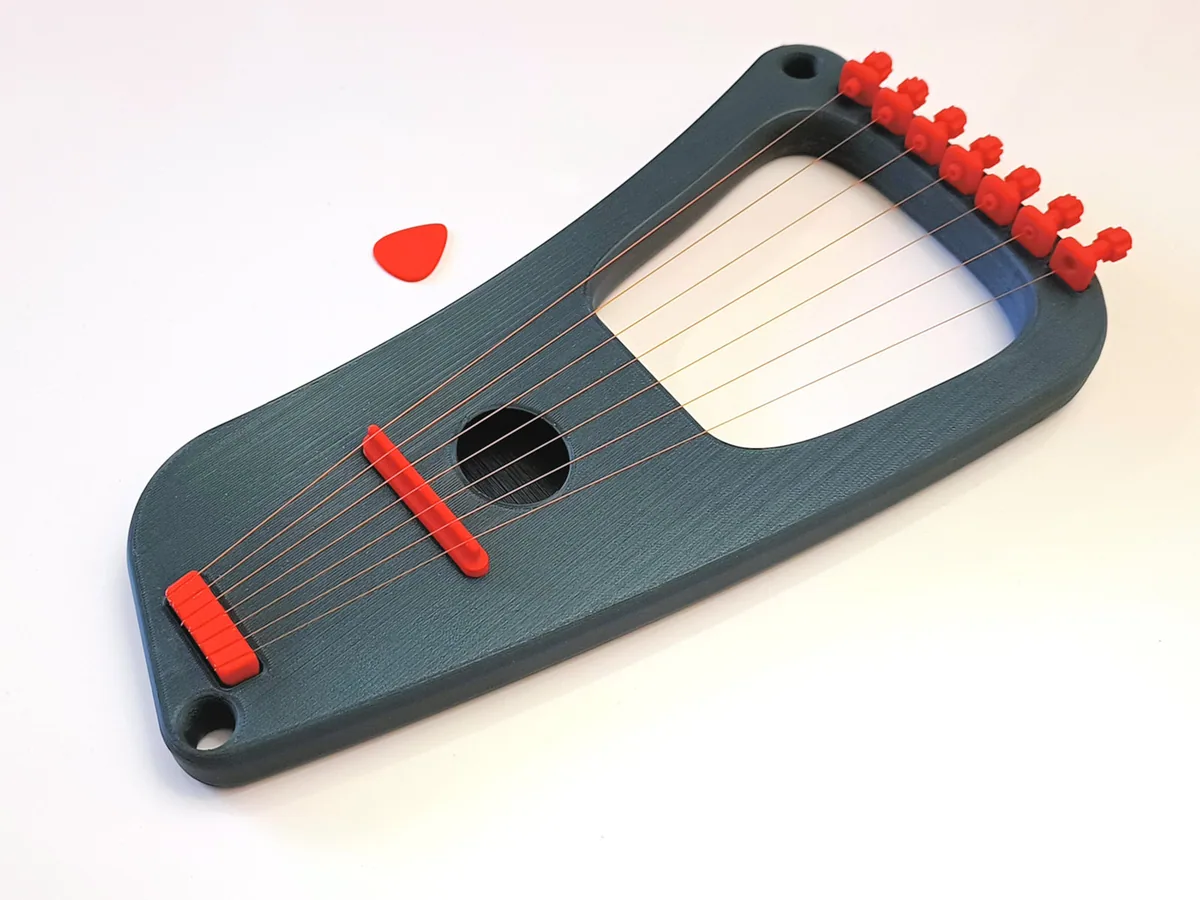
About the PLA-string lyre
The point of this project is the strings. The designer found that 1.75 mm PLA filament, softened in boiled water and stretched 4.5–5 times, makes a strong 0.8 mm string. He'd used that on an earlier one-string instrument. A multi-string instrument needs different diameters, so he printed short base strings 'in the air' across simple bridges with a 0.8 mm nozzle, changing the layer thickness to change how much plastic came out. After stretching through a bowl of hot water, the strings measured 0.27–0.37 mm. He labelled each with its diameter.
To test them he designed this 7-string lyre, strung thickest (lowest) to thinnest. He's clear that it's 'a description with example to experiment on your own', not an easy printable model. The strings are superglued into the string block and into individual end rings. M6 tuning screws tension them by being unscrewed, so screw them fully in before gluing. The bridge is glued in after pre-tensioning. The body is one piece printed opening-down on a 300 × 300 mm bed, and its back wall is printed entirely by bridging, which may be hard on some printers.
The designer's video shows the lyre being played.
What you'll need
Printed parts
- Body (one piece)
- String block, string end rings, bridge
- PLA strings (method on the page)
Bought parts
- M6 tuning screws
- Superglue
Tools
- A 0.8 mm nozzle (for the base strings)
- A kettle and a bowl with 2 small holes (for stretching)
- Calipers or a micrometer
Build overview
Print settings
- Nozzle: 0.4 mm (0.8 mm for string blanks)
- Layer height: 0.2 mm
- Infill: 15%
- Supports: None; the back wall bridges
- Bed: 300 × 300 mm for the body
Video
 Play video: 7-string lyre (loads YouTube)
Nothing loads from YouTube until you press play. Video thumbnails are © their creators.
Photos
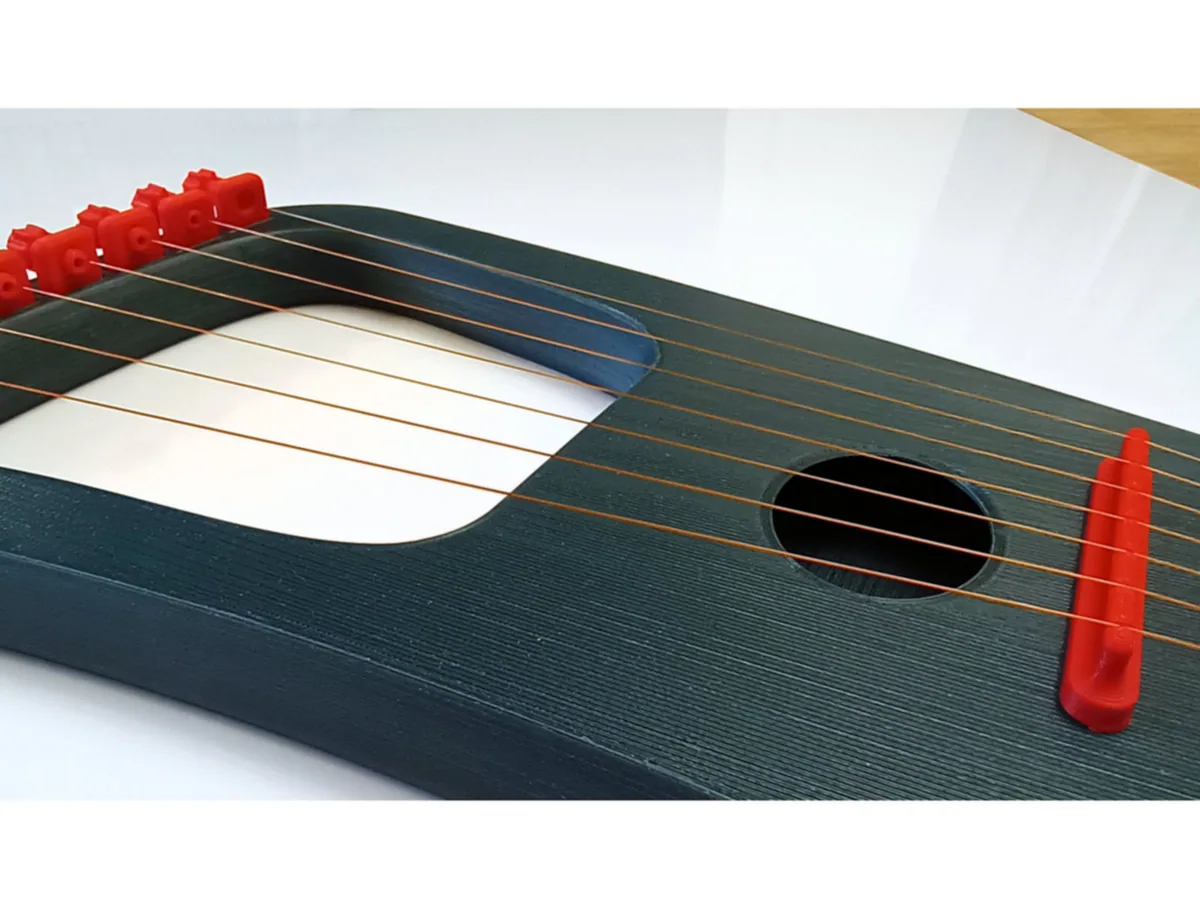
All photos: Wim V, from the design page on Printables, licensed CC BY. We resized them and converted them to WebP.