
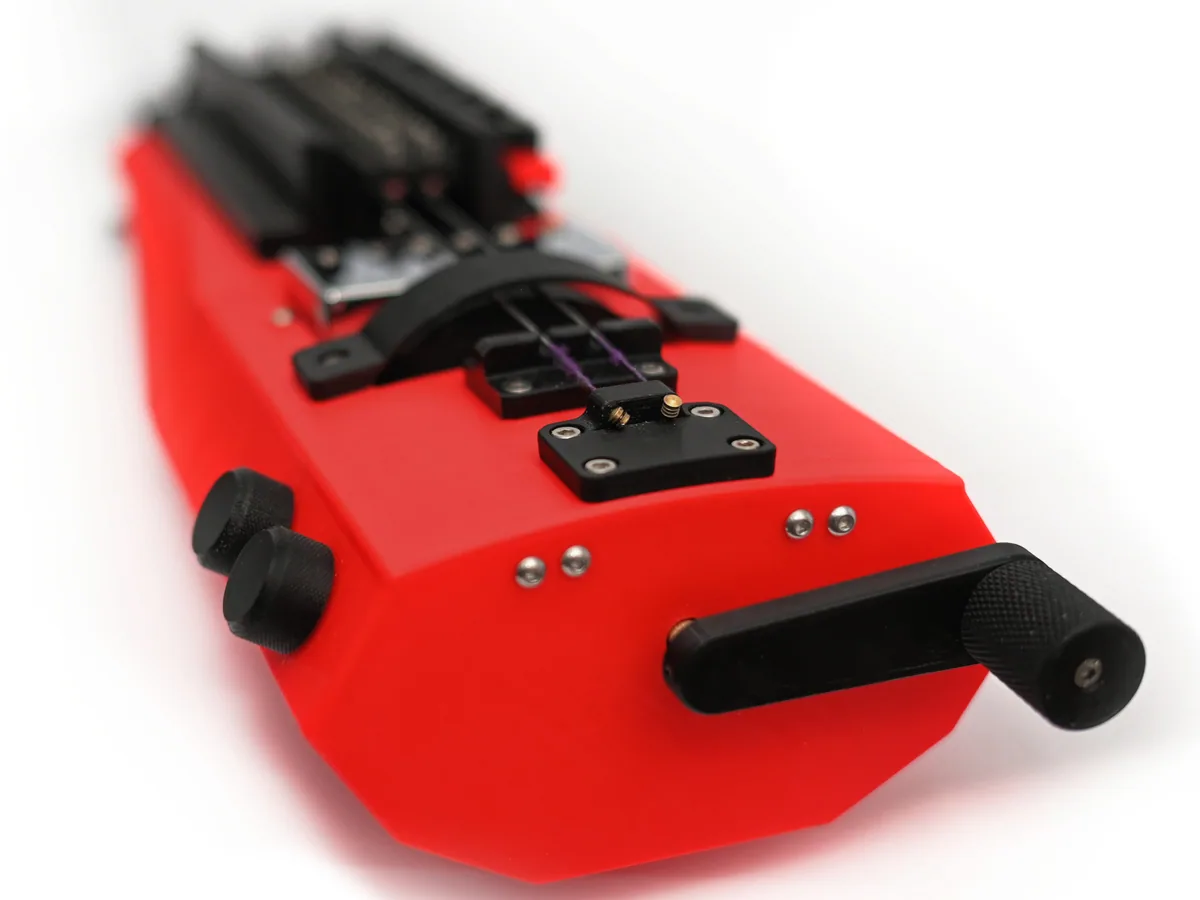
About the Electric Hurdy-gurdy
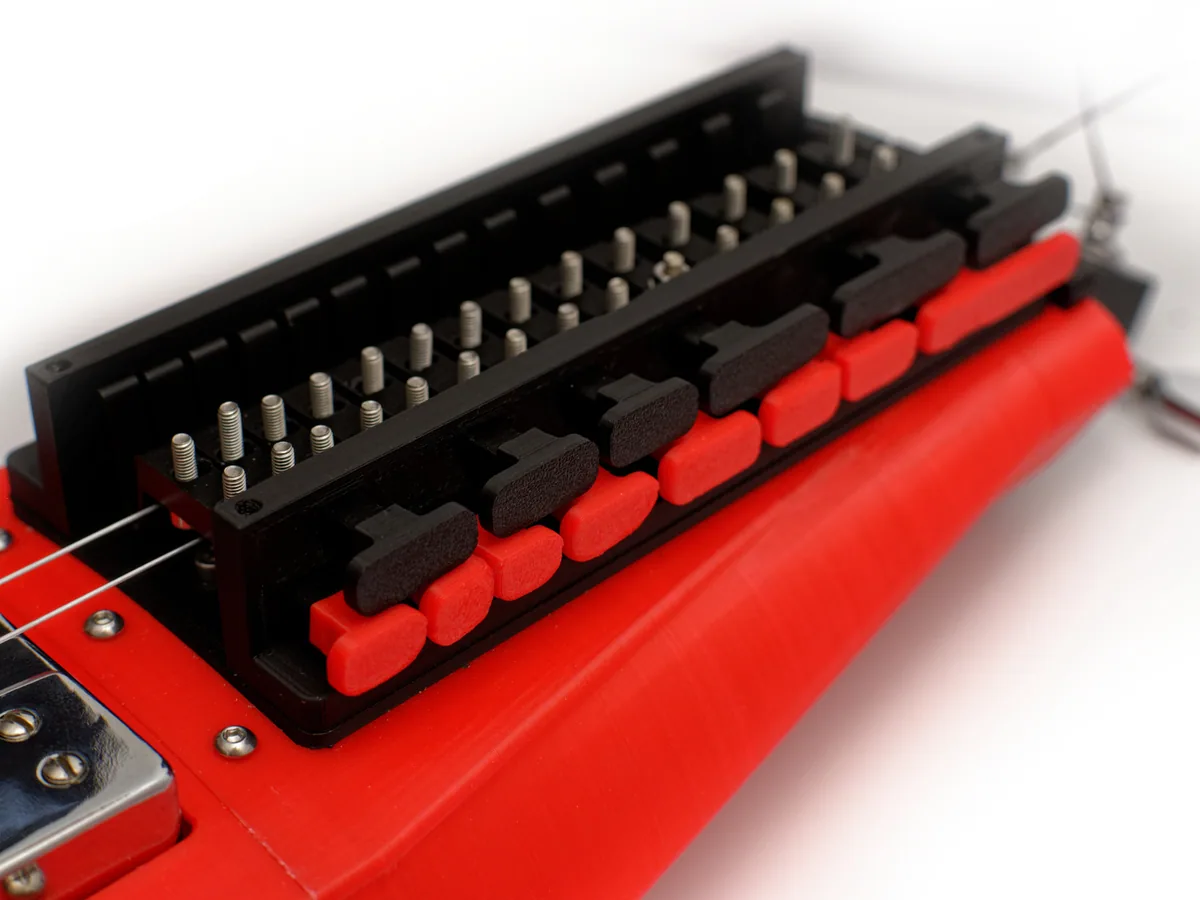
A hurdy-gurdy is a string instrument played by turning a crank: a rosined wheel rubs the strings like an endless bow, while a keybox of small wooden (here, printed) keys presses tangents against the strings to change the notes. This design keeps that mechanism and adds an electric guitar humbucker under the strings, so you can plug the instrument into an amp.
Most of the body, wheel, keybox and keys are printed. The rest comes from familiar hardware: two skateboard-type 608 bearings carry a 6 mm rod that joins the crank to the wheel, two guitar tuning pegs tension the strings, and a few dozen M3 screws hold it together. Neatly, the cylinder heads of the screws in each key act as the tangents. The designer found that violin D strings tuned up to E gave the nicest tone, and invites experimenting.
Who it's for. Experienced makers and hurdy-gurdy fans who are happy to fiddle with setup. As with any hurdy-gurdy, the sound depends heavily on a smooth wheel and on getting the rosin and the small wisp of cotton on each string just right. Plan on some trial and error. The sound sample video below gives an idea of the result.
What you'll need
Printed parts
- Body sections (wheel base, pickup base, internal frame, top, headstock and shell)
- Wheel, wheel cover and crank
- Keybox: base, front, back and top plates, keys and key caps
- Tailpiece and bridge
Bought parts
- Violin strings (designed for 1/8-size; the designer liked D strings tuned to E)
- A 6 mm rod, 12 to 14 cm long (threaded steel recommended)
- 2 × 608 bearings (8 × 22 × 7 mm)
- 2 guitar tuning pegs, symmetric Les Paul style
- A humbucker pickup with volume and tone controls and an output jack
- About 70 M3 screws in several lengths (the page lists them by part)
- Violin rosin and a little cotton
Tools
- Screwdrivers for M3
- Sandpaper for the wheel
- A guitar tuner (a clip-on fixed to the keybox works well)
- Soldering may be needed, depending on the pickup kit
Build overview
- Print the parts. Most at 0.2 mm, the larger ones at 0.25 mm; add supports for the pickup base.
- Build the wheel shaft. Press the bearings into the body sections, fix a rod lock on the rod, set the wheel position and slide the shaft into place, keeping the pickup wires clear of the rod.
- Close up the body. Screw the body sections together, fit the pickup and lock the rod, then add the top, headstock and crank.
- Assemble the keybox. Put two screws in each key as tangents, slot the keys into the front plate, add the back plate and caps, and mount it on the body.
- Set it up. Sand the wheel round and smooth, rosin it, add a little cotton where the strings meet the wheel, then string and tune.
Print settings
- Layer height: 0.2 mm for most parts, 0.25 mm for the large ones
- Walls: Default, but 5 for the wheel and tailpiece
- Supports: Strongly recommended for the pickup base; optional for the keyboard back plate
- Orientation: Tailpiece and bridge print on their side, so bed adhesion matters
Video
 Play video: 3D-printed hurdy-gurdy, sound sample (loads YouTube)
Nothing loads from YouTube until you press play. Video thumbnails are © their creators.
Photos
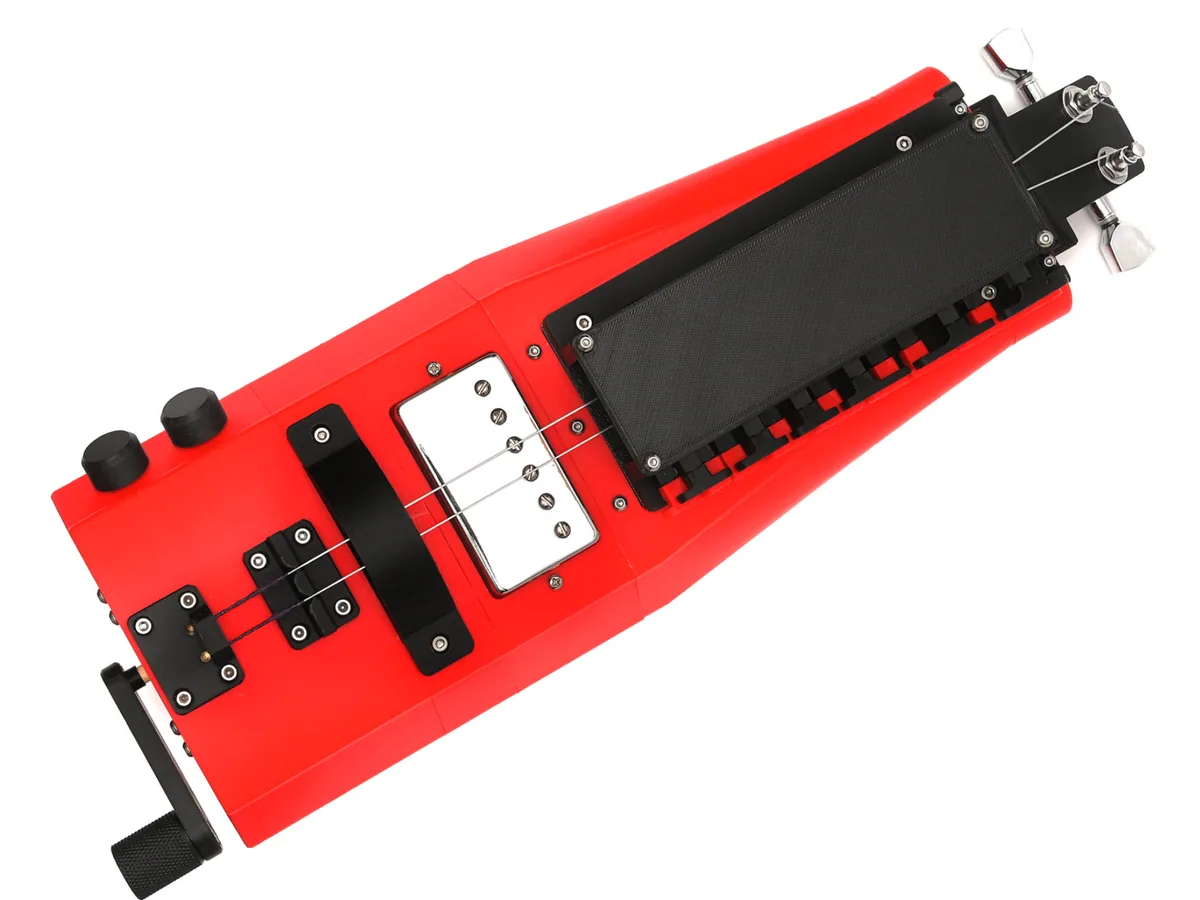
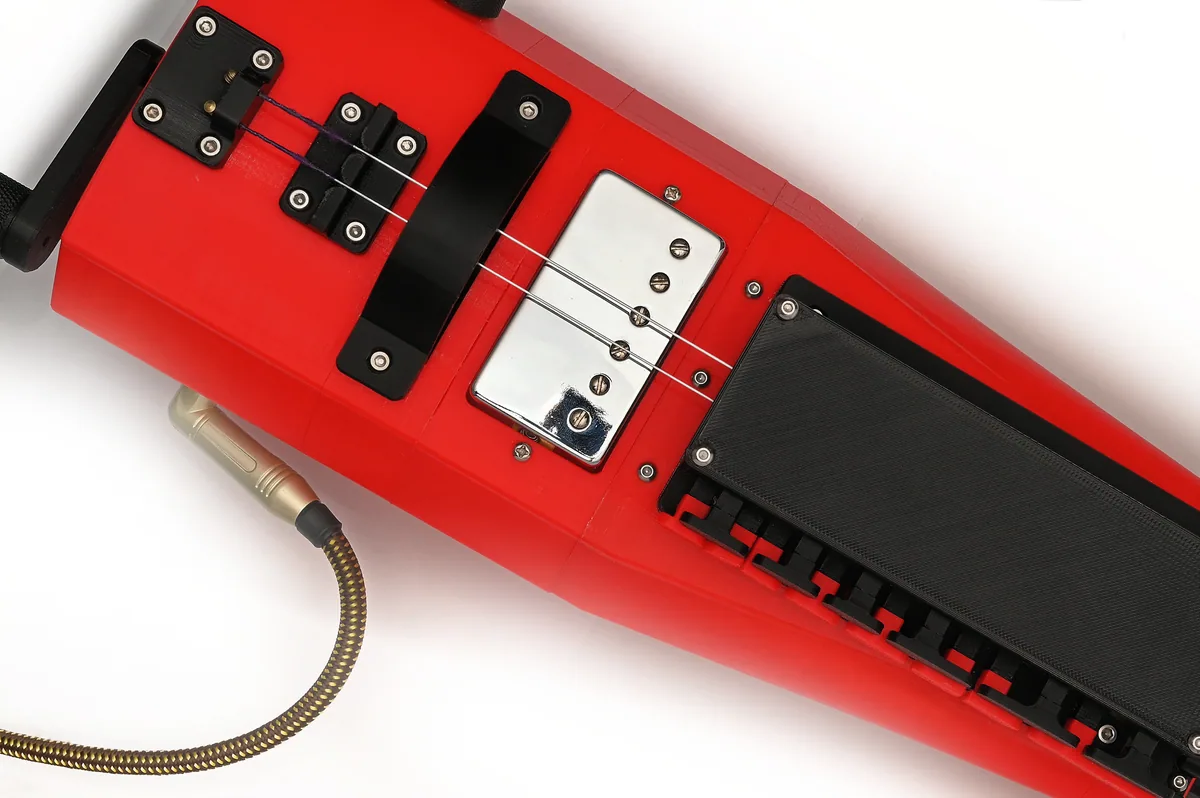
All photos: demagnetized, from the design page on Printables, licensed CC BY. We resized them and converted them to WebP.