
About the ukulele build
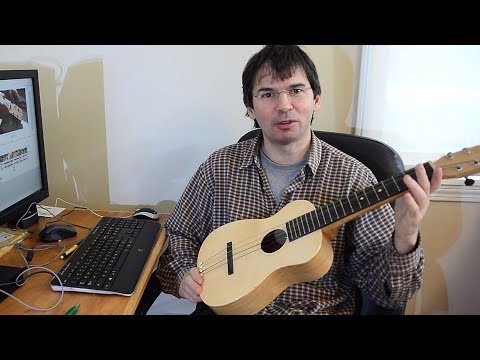
Matthias Wandel is a well-known woodworker and engineer who documents his projects on woodgears.ca and YouTube. Encouraged by his friend Pat Hawley, an experienced guitar builder, he built a tenor ukulele and deliberately tried to do it without the specialised jigs and equipment most luthiers rely on. Pat built one alongside him the traditional way, and the build log shows both side by side, so you can see the shortcut and the professional method at each stage.
The soundboard is spruce cut from an ordinary 2x10 bought at a home centre, the sides are steam-bent, and the frets are cut with a dozuki saw and pressed in with a vise. The log covers bending the sides, the soundboard, the body (built mostly without a form), the neck, the fretboard, assembly, finishing and even a case. A free plans page has the body profile, the bending form and the rib positions as PDF or PNG, plus a SketchUp model.
Who it's for. Woodworkers who already own basic shop tools and want a first stringed instrument. It's a serious project, not an afternoon build: you'll steam-bend thin wood, cut fret slots accurately and glue up a hollow body.
Good to know. All dimensions on the plans are in centimetres, and the author notes that the frets on the drawing are not precisely positioned; he links a separate page on how to place them. We haven't built one ourselves, so this is a summary of his pages and video, not a review.
What you'll need
Materials
- Spruce for the soundboard (he used a construction-grade 2x10)
- Hardwood for the sides, back and neck
- Fret wire and a fretboard blank
- Wood glue and a finish
Bought parts
- Ukulele tuners
- Ukulele strings
- Nut and bridge saddle: made or bought; the log covers installing them
Tools
- Saws, including a fine dozuki-style saw for the fret slots
- A way to steam or heat-bend thin wood (he experiments with several)
- Clamps, a vise (used to press the frets in) and general woodworking tools
- Optional: his free BigPrint program to print the plans at full size
Build overview
Our own outline of the build log. Follow the full write-up and drawings on woodgears.ca.
- Print the plans. Download the body profile, bending form and rib drawings (PDF or PNG) and print them full size.
- Bend the sides. Steam-bend thin hardwood around a form; the log compares several home methods with Pat's heating-blanket jig.
- Make the soundboard. Resaw and join spruce from a 2x10 to make the top, then cut the sound hole.
- Build the body. Glue the sides, ribs and soundboard together. He did most of this without a mould; a mould makes the shape more exact.
- Make the neck and fretboard. Shape the neck, cut the fret slots with a fine saw and press the frets in with a vise.
- Assemble and finish. Fit the tuners, mount the fretboard, close up the back, apply a finish, then install the bridge and nut and string it up.
Video
 Play video: The whole build in one video (loads YouTube)
The videos don't load from YouTube until you press play. Video thumbnails are © their creators.