
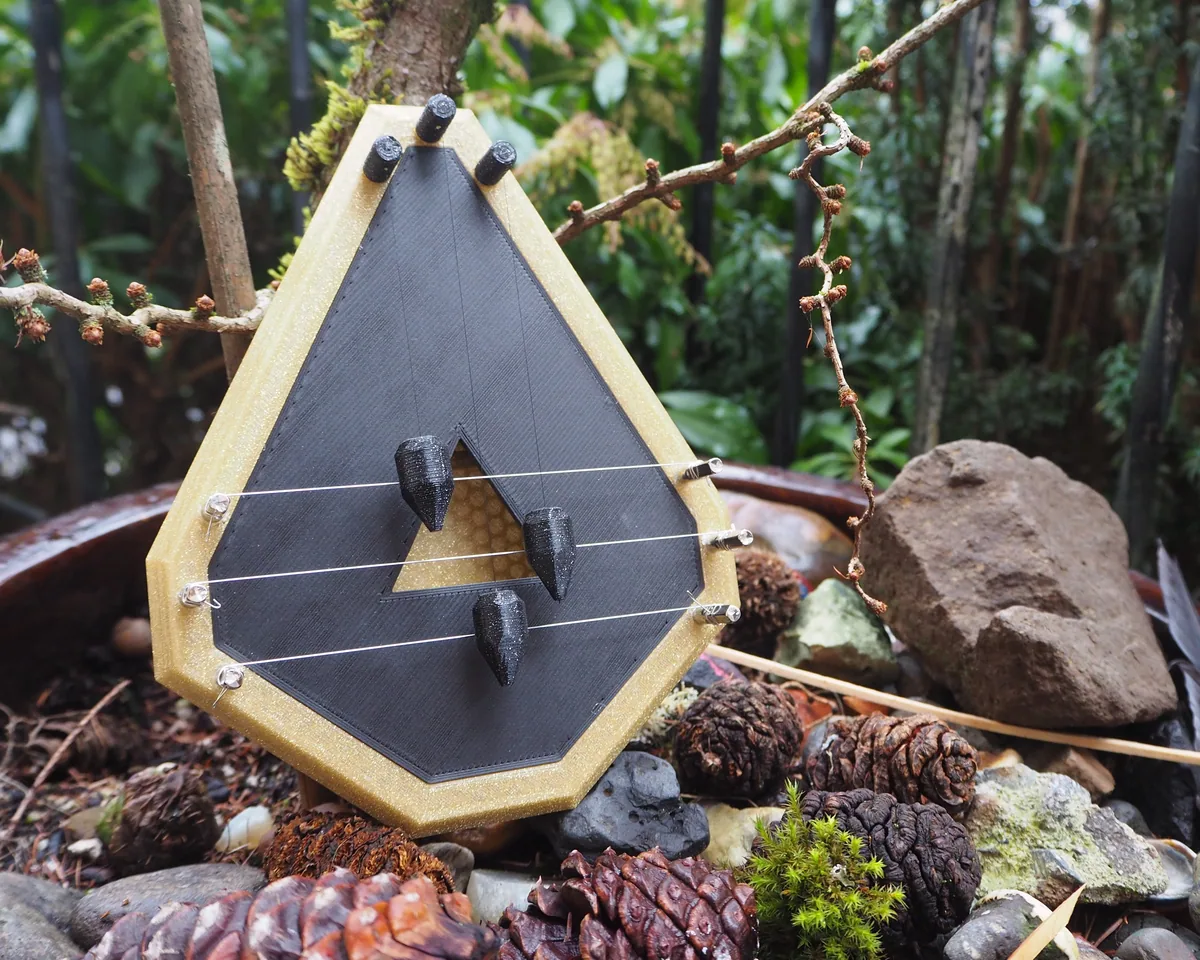
About the Door Harp
Door harps are a folk tradition: a small soundboard hangs on the back of a door, and wooden balls on threads swing against its strings whenever the door opens or closes, sounding a gentle chord. This printed version has three strings. The designer describes the result, affectionately, as a 'delightfully slightly-in-tune chord'.
The printed parts are a base, a soundboard that slots into it, three string mounts and three weights. The strings are thin music wire, around 0.014 inch (any guitar, piano or harp wire of that gauge), stretched between zither pins that screw into the base and are tuned with a wrench. Drill the pin holes out first so the base doesn't crack. A printed tuning tool is included, but a metal tuning wrench works much better for the final tune. The weights hang on thread or fishing line.
Who it's for. A charming beginner string project and a nice housewarming gift.
What you'll need
Printed parts
- Base
- Soundboard
- 3 weights
- 3 string mounts
- Optional: tuning tool
Bought parts
- 6 zither pins, about 5 mm
- Music wire, about 0.014 in
- Thread or monofilament
- Toothpicks
- A metal zither tuning wrench (recommended)
- A wood screw for the door (6–9 mm head, under 5 mm shank)
Tools
- Drill with 3/16 in and about 1.5 mm (1/16 in) bits
- Wire cutters and needle-nose pliers
- Glue for PLA (CA, or slower-curing)
- Files or sandpaper
Build overview
- Print the parts. Base at 3 perimeters and 30% infill; weights, mounts and soundboard nearly solid.
- Check the soundboard fit. It should press into the base with slight friction.
- Fit the zither pins. Drill out the holes and screw in the pins.
- String it. Run the music wire between the pins and tune with the wrench.
- Hang the weights and mount it. Hang the weights on thread so they strike the strings, then hang the harp on the door.
Print settings
- Base: 3 perimeters, 30% infill (0.5 mm nozzle used)
- Weights and string mounts: Solid or nearly solid
- Soundboard: Nearly solid, a few layers of 50% infill in the middle
Photos
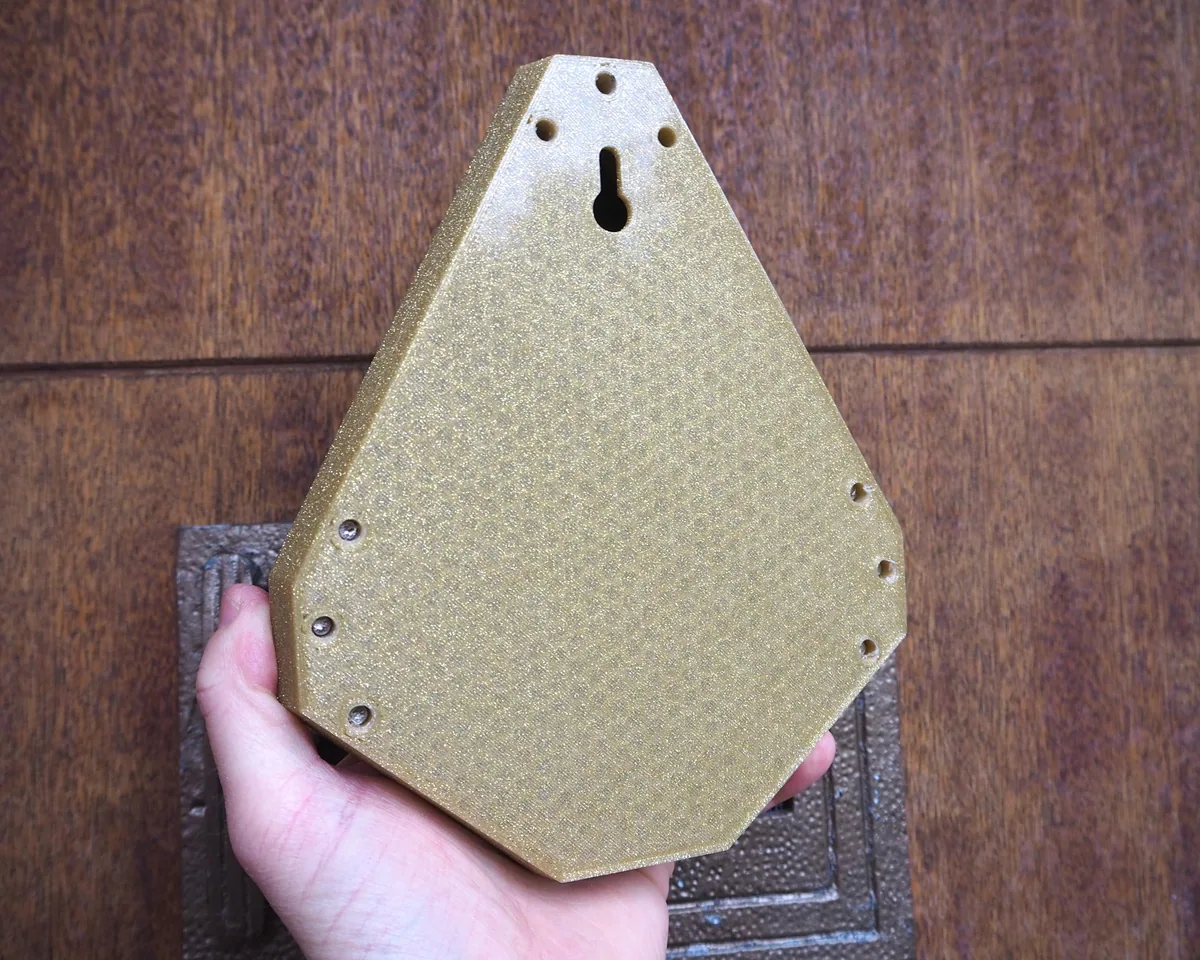
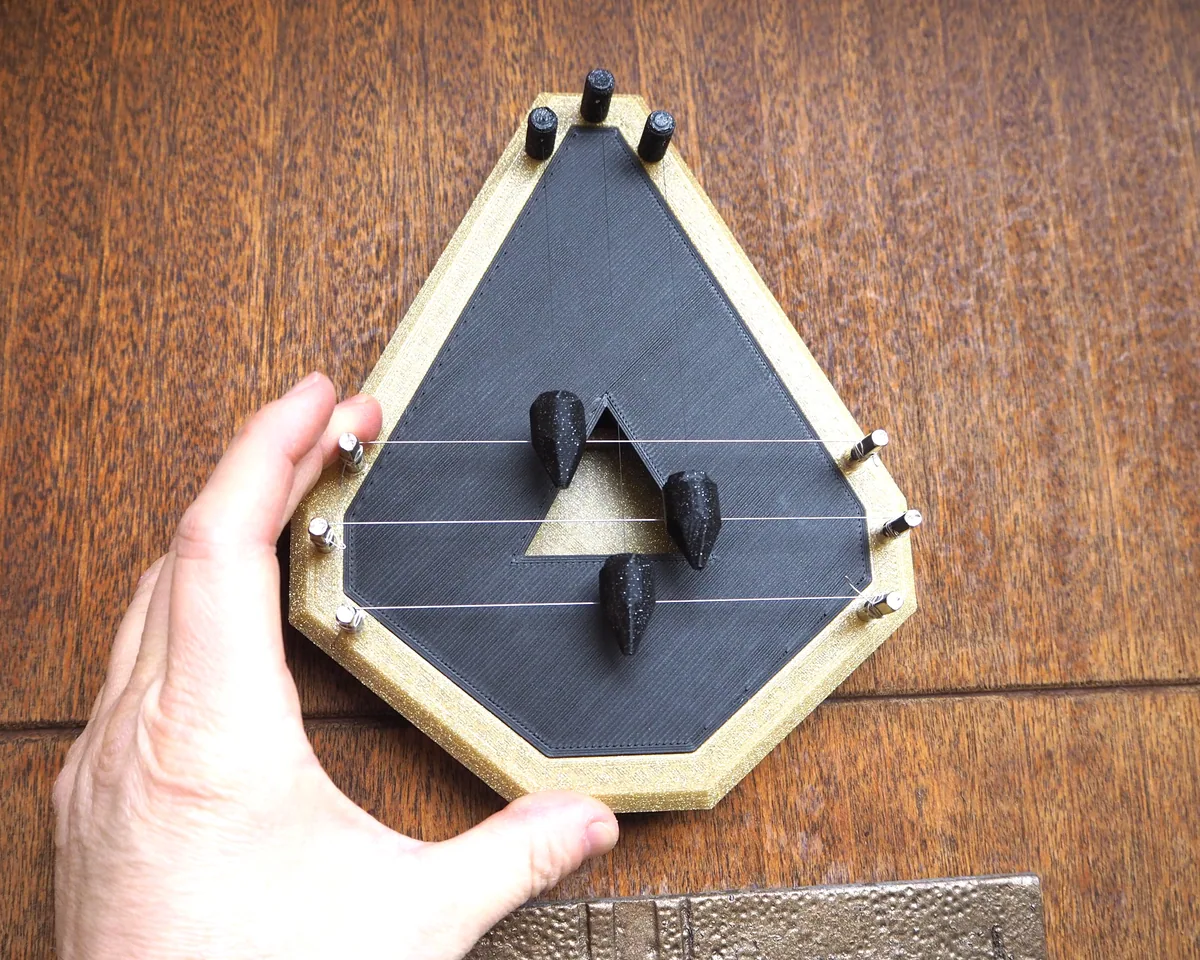
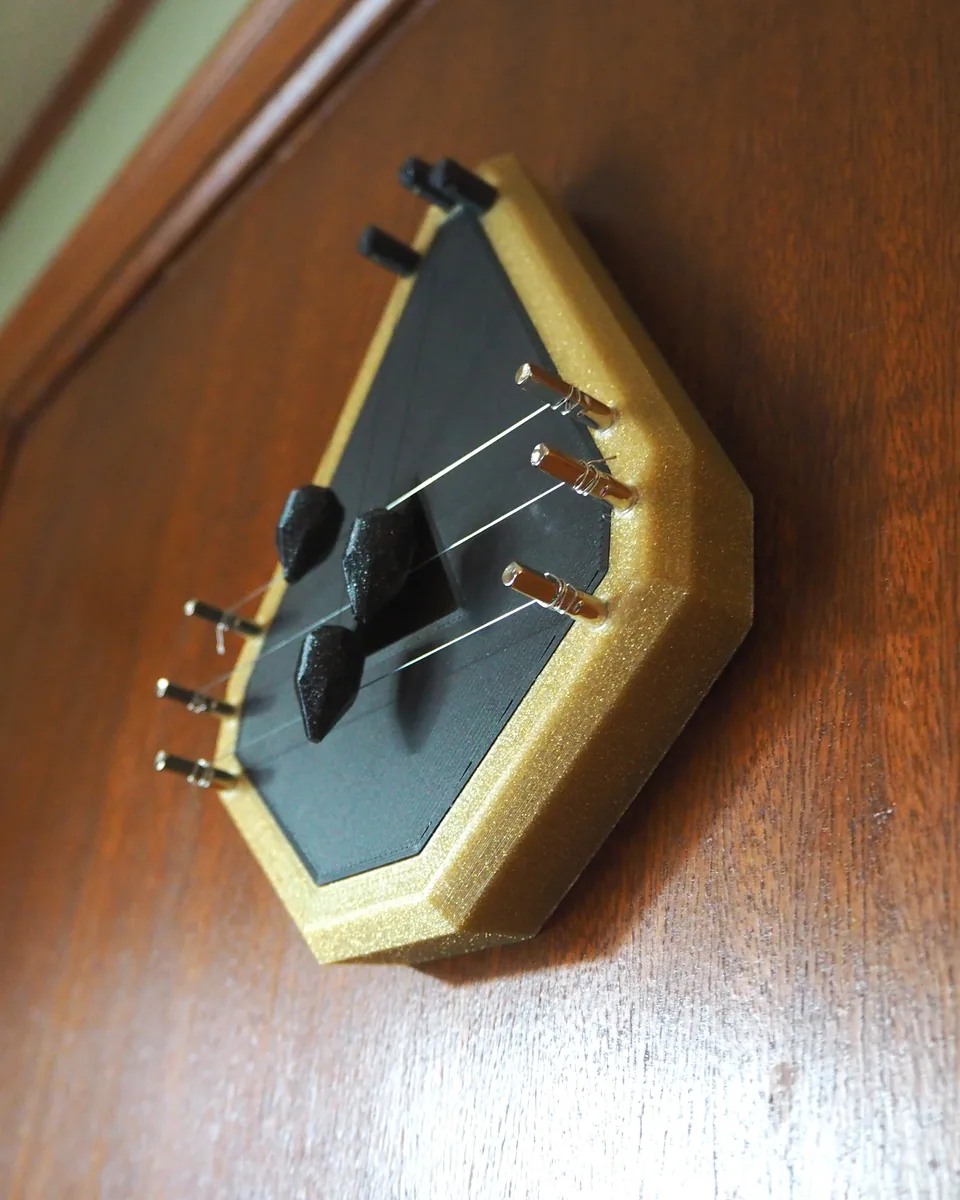
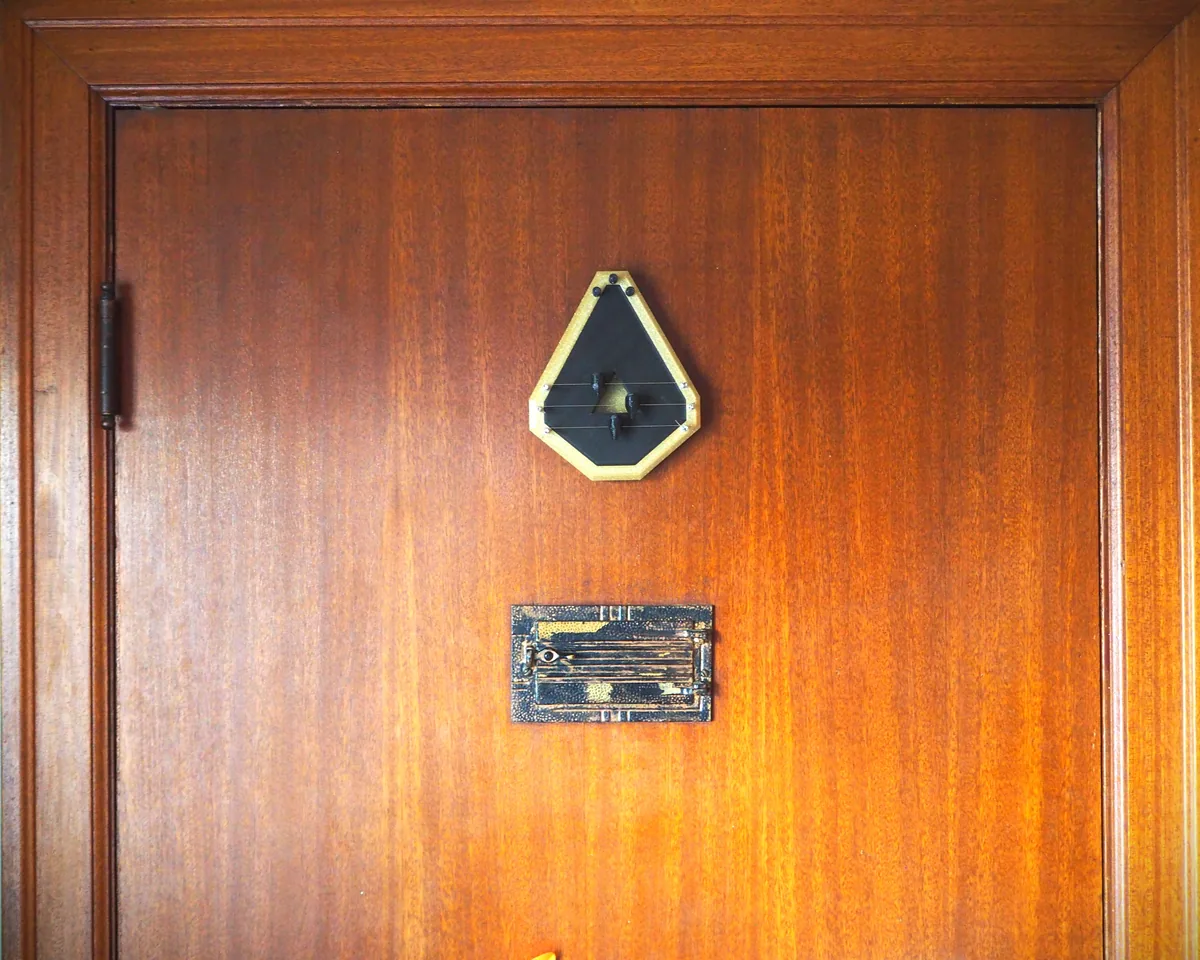
All photos: OpenFabPDX, from the design page on Printables, licensed CC BY-SA. We resized them and converted them to WebP. These adapted versions are shared under the same licence.