
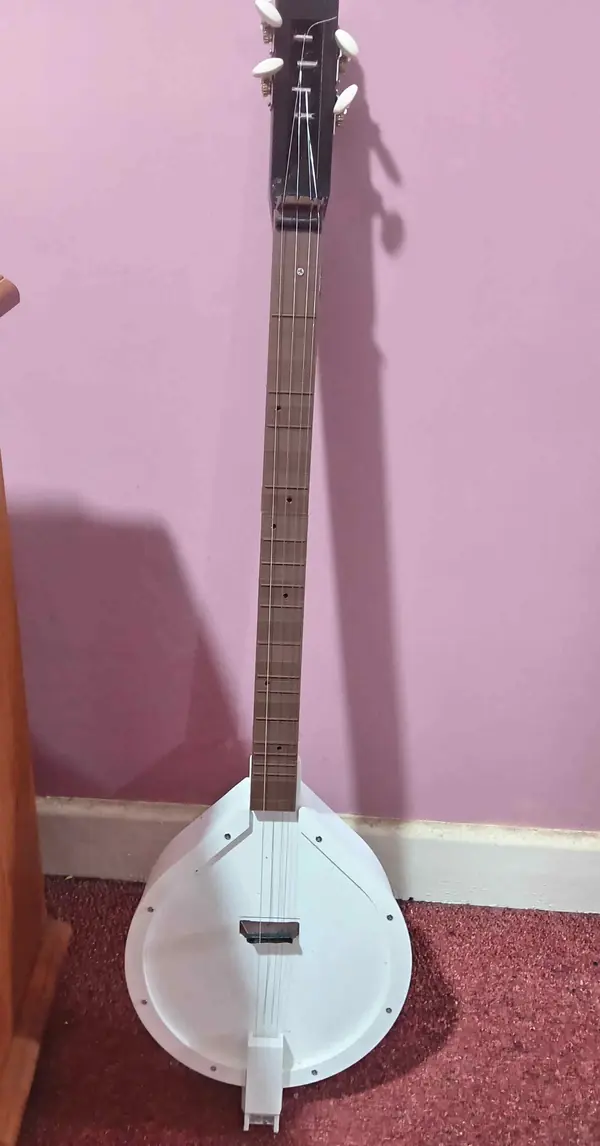
About the Stick Dulcimer
A broom handle does the heavy lifting here. A beech handle runs from the pegbox through the neck and body to the tail and carries all the string tension, while the printed parts slide onto it and locate everything. The teardrop body has printed walls, a printed soundboard clamped by a printed hoop, and a screwed-on back. It's acoustic, loud enough for a quiet room. The through-neck idea is credited to an older homemade banjo-uke project.
The fit of the handle is critical. The printed bores expect 28.4 mm with 0.2 mm clearance, so measure your handle with calipers in several places, then print one neck segment and slide it along before printing the rest. If it drops freely or binds, try another handle. Version 1.1 went back to a flat fretboard because the wedge version was hard to fix down.
The designer's README is very detailed (about 4,000 words) and lists every screw, nail and adhesive. The list below is a summary.
What you'll need
Printed parts
- Head, neck segments, body walls, soundboard, hoop, back, fretboard, bridge, nut and tailpiece
Bought parts
- 1 beech broom handle, 28.4 mm, at least 770 mm long
- Loop-end dulcimer strings (D'Addario EJ64)
- 4 open-gear classical-guitar tuners
- Self-tapping screws: 8 × 3 × 16 mm (hoop), 6 × 3 × 12 mm (back), 9 × 2.2 × 9.5 mm countersunk
- Small nails for string pins and the tailpiece bar
- Epoxy putty and slow-cure liquid epoxy
- Masking tape and strips of bicycle inner tube
- A strap button or a leather lace, plus a strap
Tools
- Calipers
- Saw and nail cutters
- Screwdrivers