
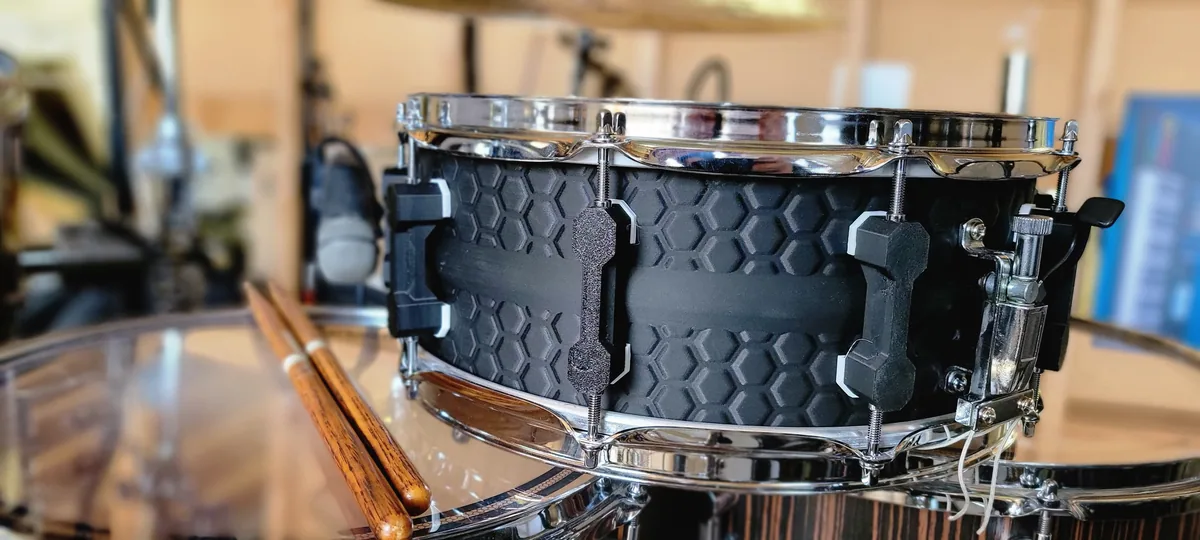
About the Shattered Cycle snare
The designer spent several years on a snare shell that would 'withstand abuse'. It prints as a single solid piece on a large-format printer, batter side down, so the snare bed needs no extra work. It needs no supports but does need a brim. The segments are exported separately, so you can vary the height of the bearing edges. Only a 45° edge is uploaded so far, and it has to be routed clean after printing.
Material matters. The designer's verified choices are particular carbon-fibre PLA and PETG, PC or PC-CF in a heated chamber, and an iron-filled PLA. Plain PLA, PLA+, PETG, ABS and cheap carbon-fibre filaments sound like low-end acrylic drums. He suggests printing small acoustic test blocks first. He recommends a large nozzle at 0.3 mm layers (the page says '.08 or .1 mm', probably meaning 0.8 or 1.0 mm). His video compares printed snares. You'll need standard snare hardware and heads.
Who it's for. Drummers with access to a large-format printer and an interest in acoustics. It's a serious project: you supply the hoops, lugs, strainer, wires and heads, and you'll need a router for the bearing edge.
Where it's going. The designer lists ideas he's still working on, including other bearing-edge profiles, adding mass in different places, Helmholtz resonators for contact-free muffling, and carbon-fibre reinforcement. Printed hoops have all failed eventually in his tests, so stick to metal hoops for now.
What you'll need
Printed parts
- Snare shell (one solid piece)
Bought parts
- Snare drum hardware: lugs, hoops, tension rods, strainer, wires
- Drum heads
Tools
- A router (for the bearing edge)
- A drum key
Build overview
Our own outline of the designer's recommended approach on the Printables page.
- Test your material. Print small hollow acoustic test blocks first. The designer's verified materials are particular carbon-fibre PLA and PETG, PC or PC-CF in a heated chamber, and an iron-filled PLA.
- Print the shell solid. In one piece, batter side down, so the snare bed needs no extra work. No supports, but use a brim. Use a large nozzle with 0.3 mm layers.
- Route the bearing edge. Clean up the excess material on the edge with a router. Only a 45° edge is uploaded so far.
- Fit the hardware. Add standard snare lugs, hoops, strainer, wires and heads, then tune as usual.
Print settings
- Material: A verified acoustic material (see page)
- Nozzle: Large; 0.8 or 1.0 mm ?
- Layer height: 0.3 mm
- Orientation: Batter side down
- Supports: None; brim
Video
 Play video: 3D-printed snare drum shoot-out (loads YouTube)
Nothing loads from YouTube until you press play. Video thumbnails are © their creators.
Photos
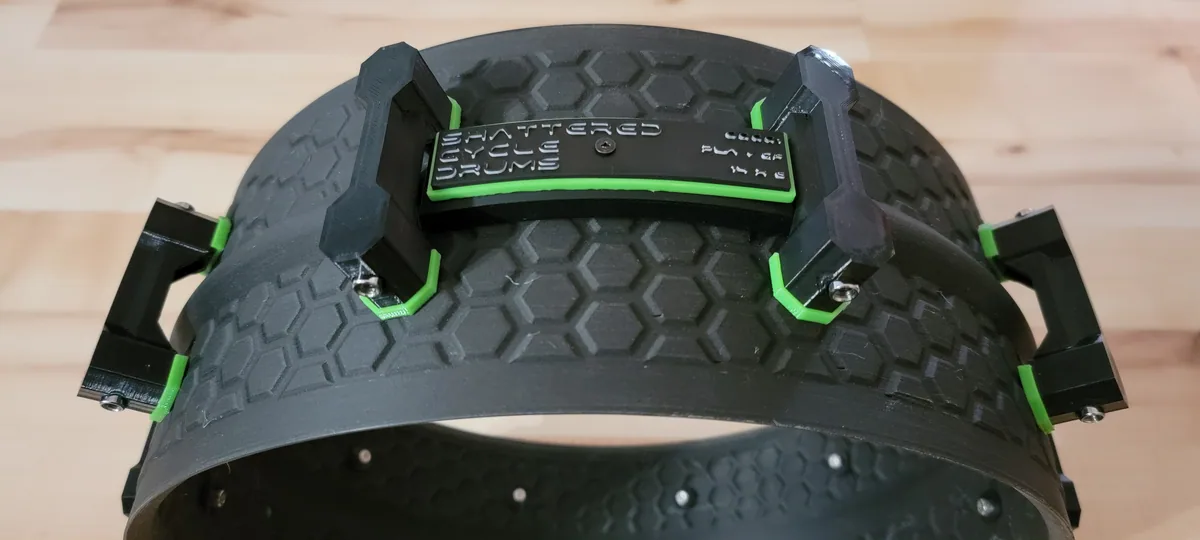
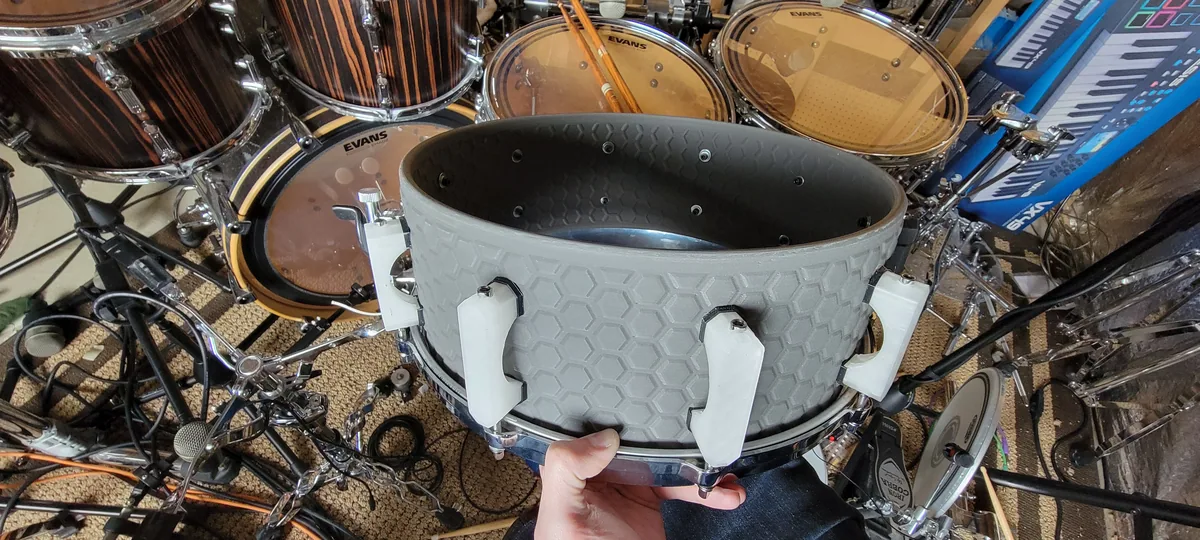
All photos: Daniel Nehring, from the design page on Printables, licensed CC BY-NC-SA. We resized them and converted them to WebP. These adapted versions are shared under the same licence.