
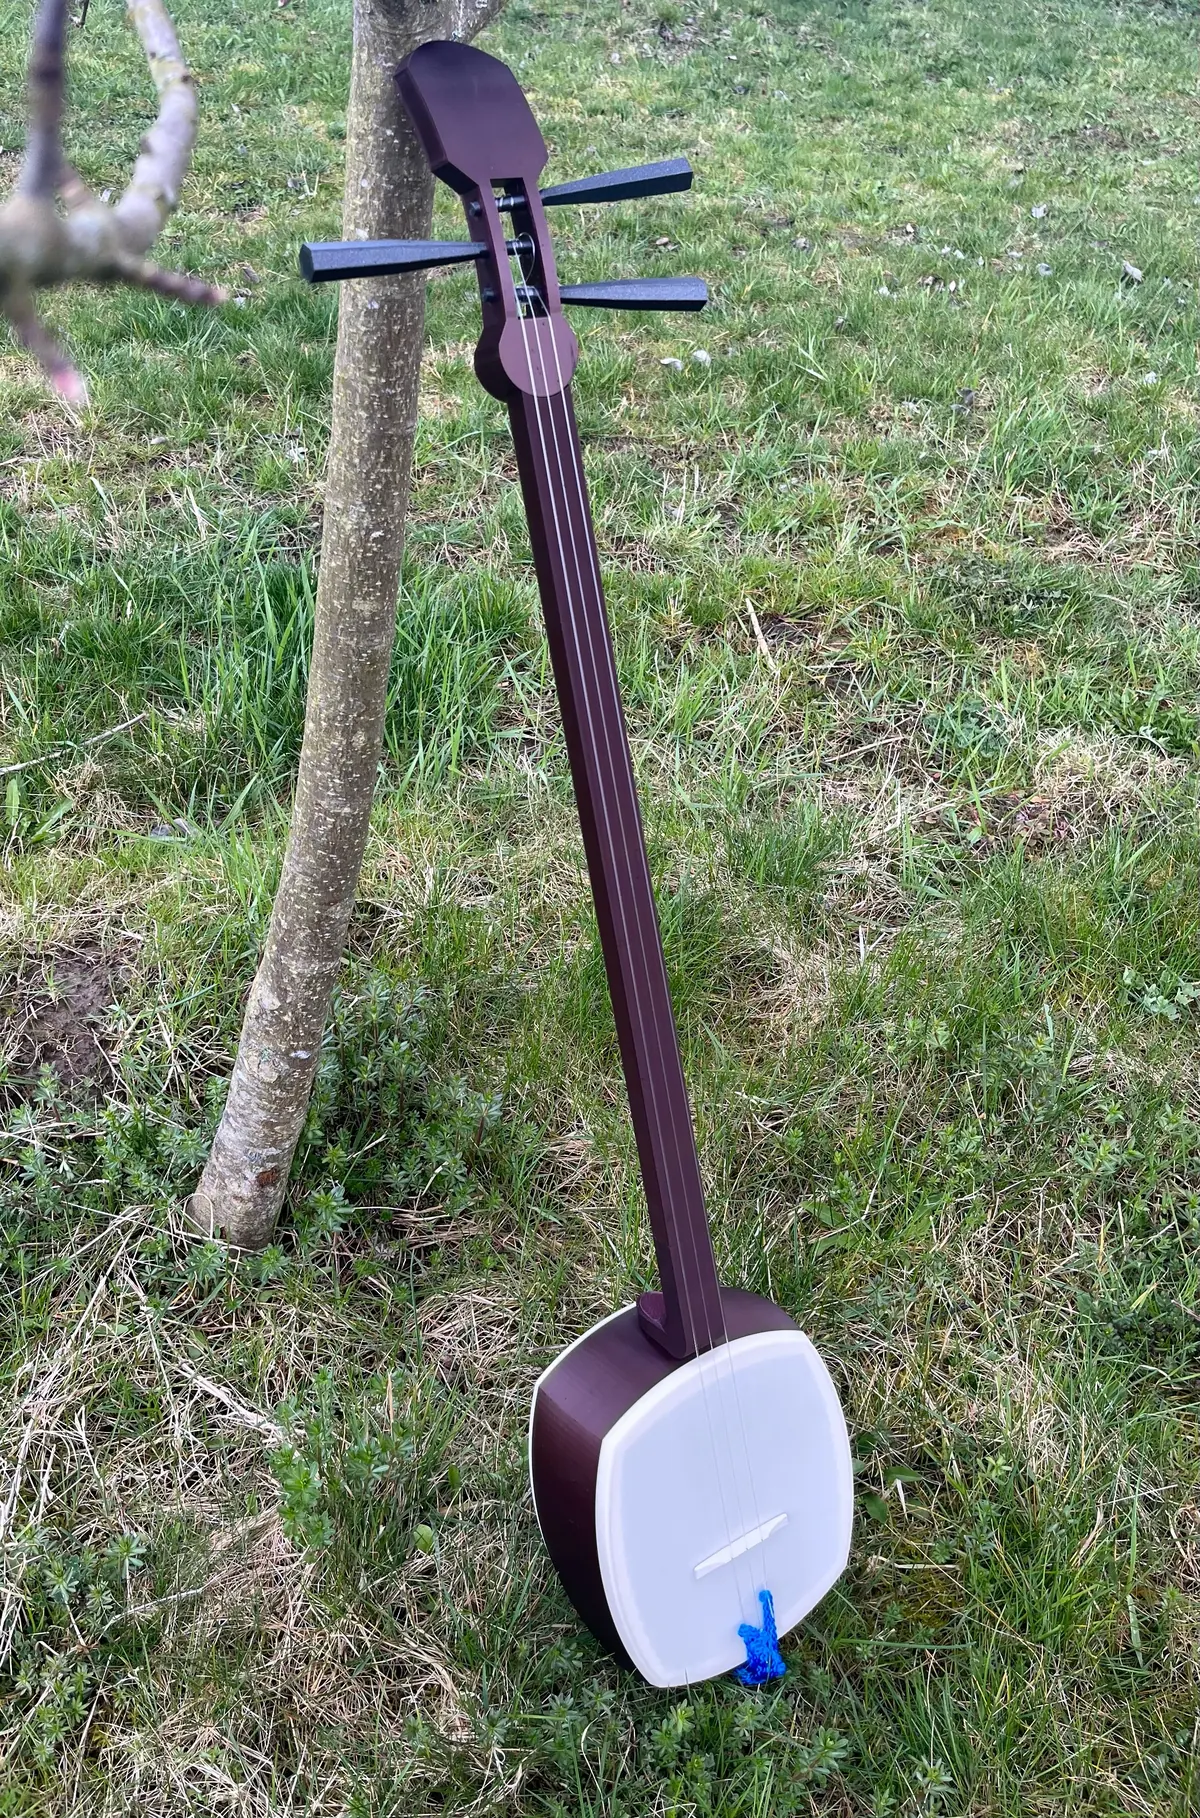
About the Shamisen
A three-string Japanese shamisen at full size. The designer, Dusanius, modelled it on their own shamisen and calls it fully playable. The parts snap together with a little glue. A hole runs down the neck for a 6 mm threaded rod, which you tighten with a wing nut to take the pull of the strings. That's the one bit of real hardware it needs.
Don't glue the back on permanently: you need to get at the rod to adjust it. If you only want it as a decoration, you can leave the rod out. The designer printed it in PLA with 25% infill and 7 perimeters and says it feels very solid, almost like wood. For a body that looks as if it has a real skin, change filament colour at layer 45 and again 40 layers from the top.
Sound. The designer posted a short sound demo (linked below) and says they're not a good player, so judge the instrument rather than the playing. Five people have posted makes on Printables. The page also links a video on tying the shamisen's string knot, shamisen tablature, and an alternative set of printed pegs (itomaki) by another designer.
What you'll need
Printed parts
- Body, neck and the other snap-together parts
- Pegs (itomaki), printed at 100% infill
- The Printables page doesn't list every file; check the download
Bought parts
- A 6 mm threaded rod, a nut, a wing nut and a washer (to take the string tension)
- Shamisen strings
- Glue
Tools
- A 3D printer
- Bed size isn't stated; check the largest part in your slicer
Build overview
Our own outline of the designer's notes. See the full description on the Printables page.
- Print. PLA, 0.20 mm layers, 25% infill and 7 perimeters; pegs at 100% infill. For the 'skin' look, change colour at layer 45 and again 40 layers from the top of the body.
- Snap it together. Fit the parts together with a little glue, but don't glue the back on permanently.
- Fit the rod. Run the 6 mm threaded rod through the hole in the neck and fit the nut, washer and wing nut.
- String and tune. Tie the strings on (the linked video shows the knot), tighten the rod to take the tension, then tune and play.
Print settings
- Material: PLA
- Layer height: 0.20 mm
- Infill: 25% (pegs 100%)
- Walls: 7 perimeters
- Colour change: Layer 45, and 40 layers from the top of the body
Video
Sound demo (Vocaroo audio) the designer playing their print
How To Tie a Shamisen Neo (YouTube) Kyle Abbott; linked by the designer for the string knot, not this design
Photos
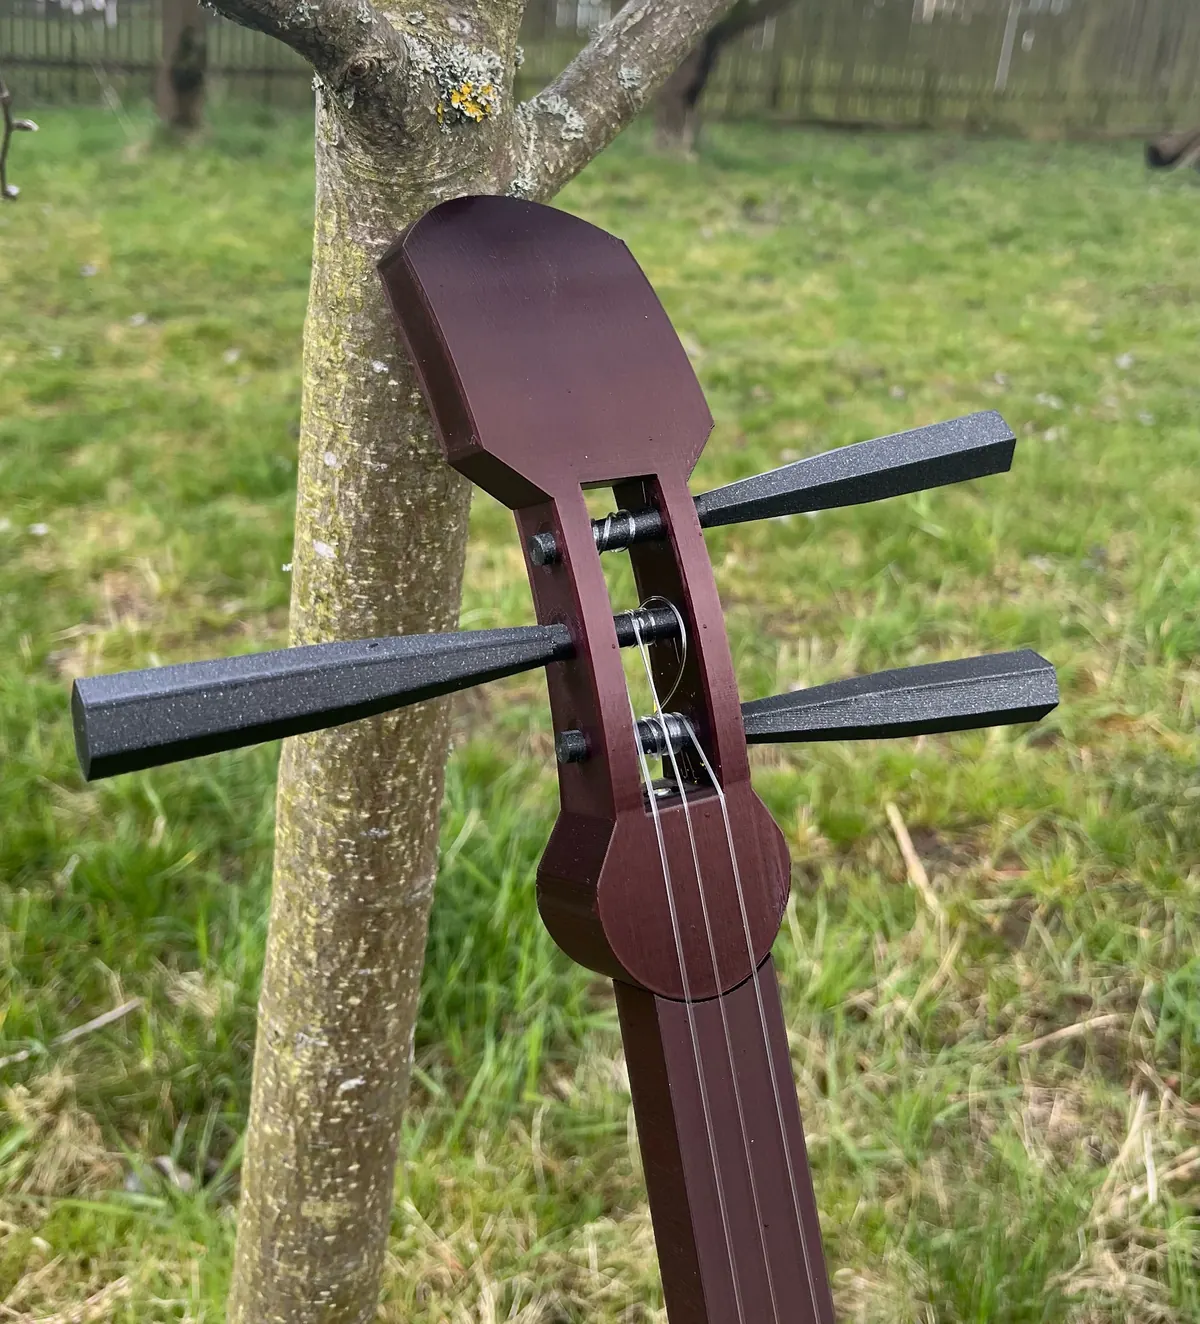
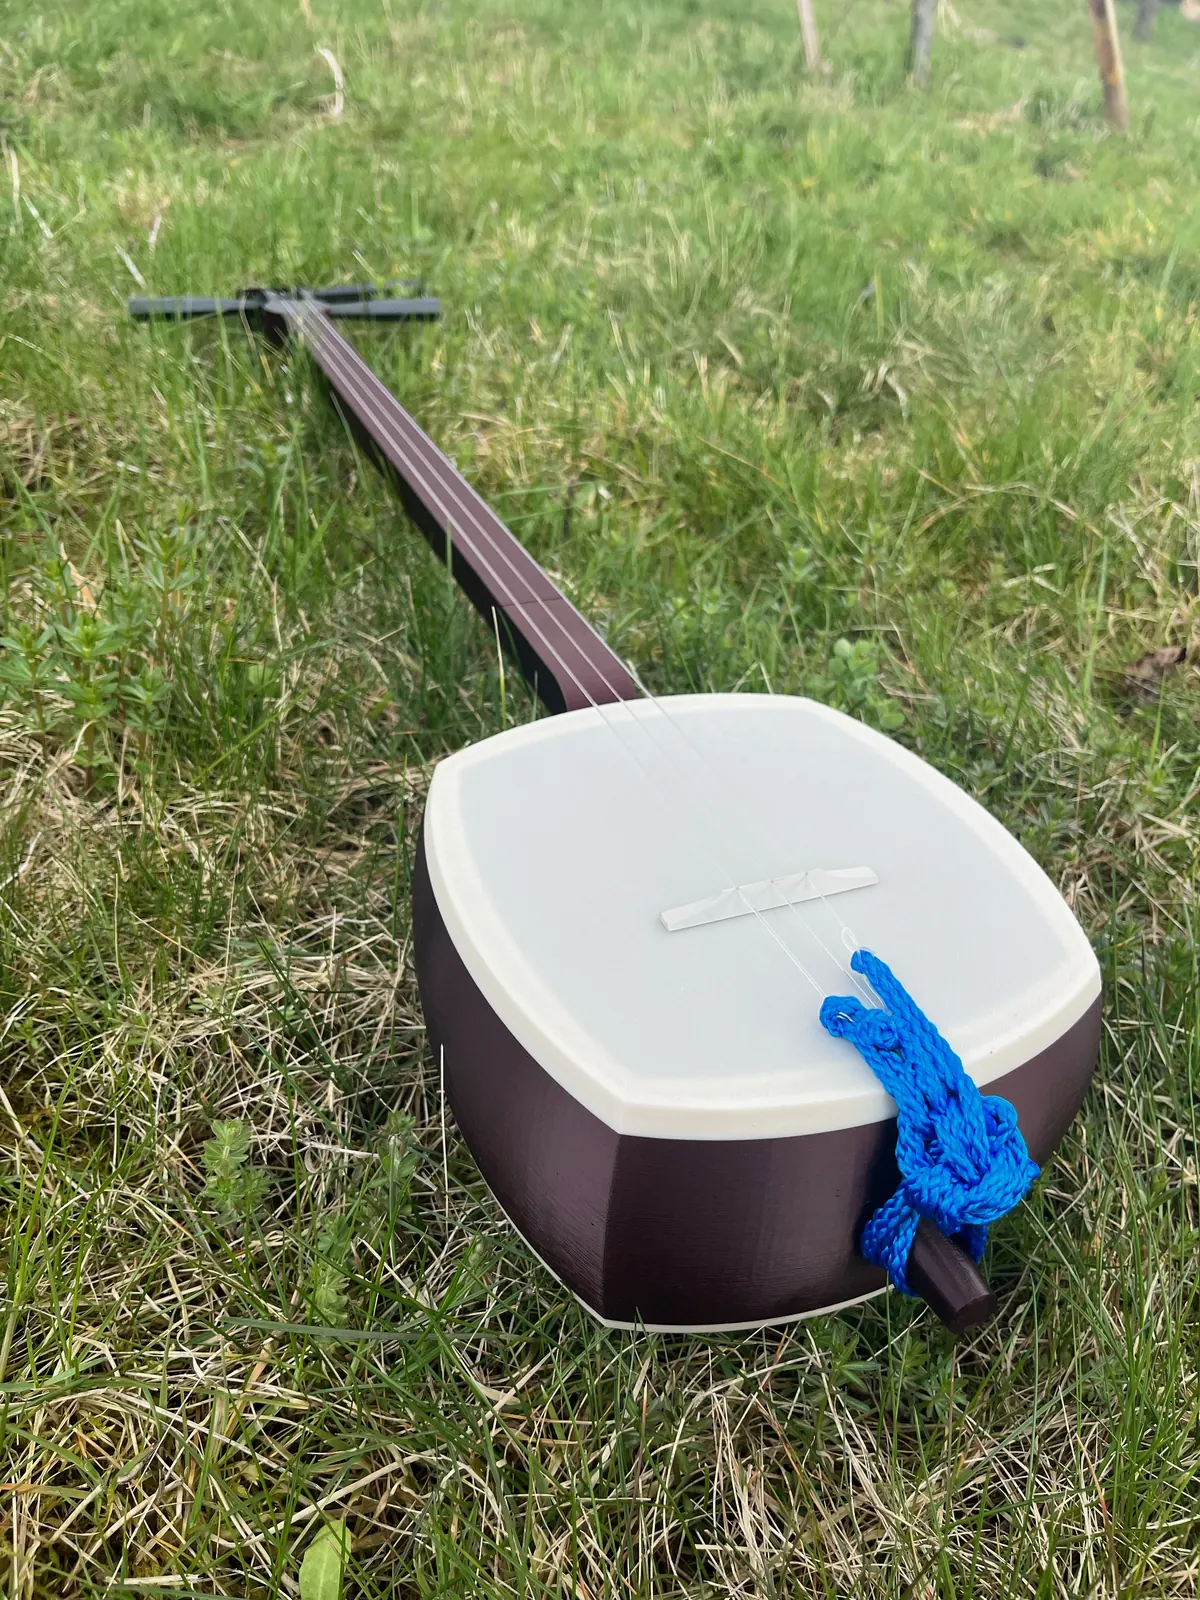
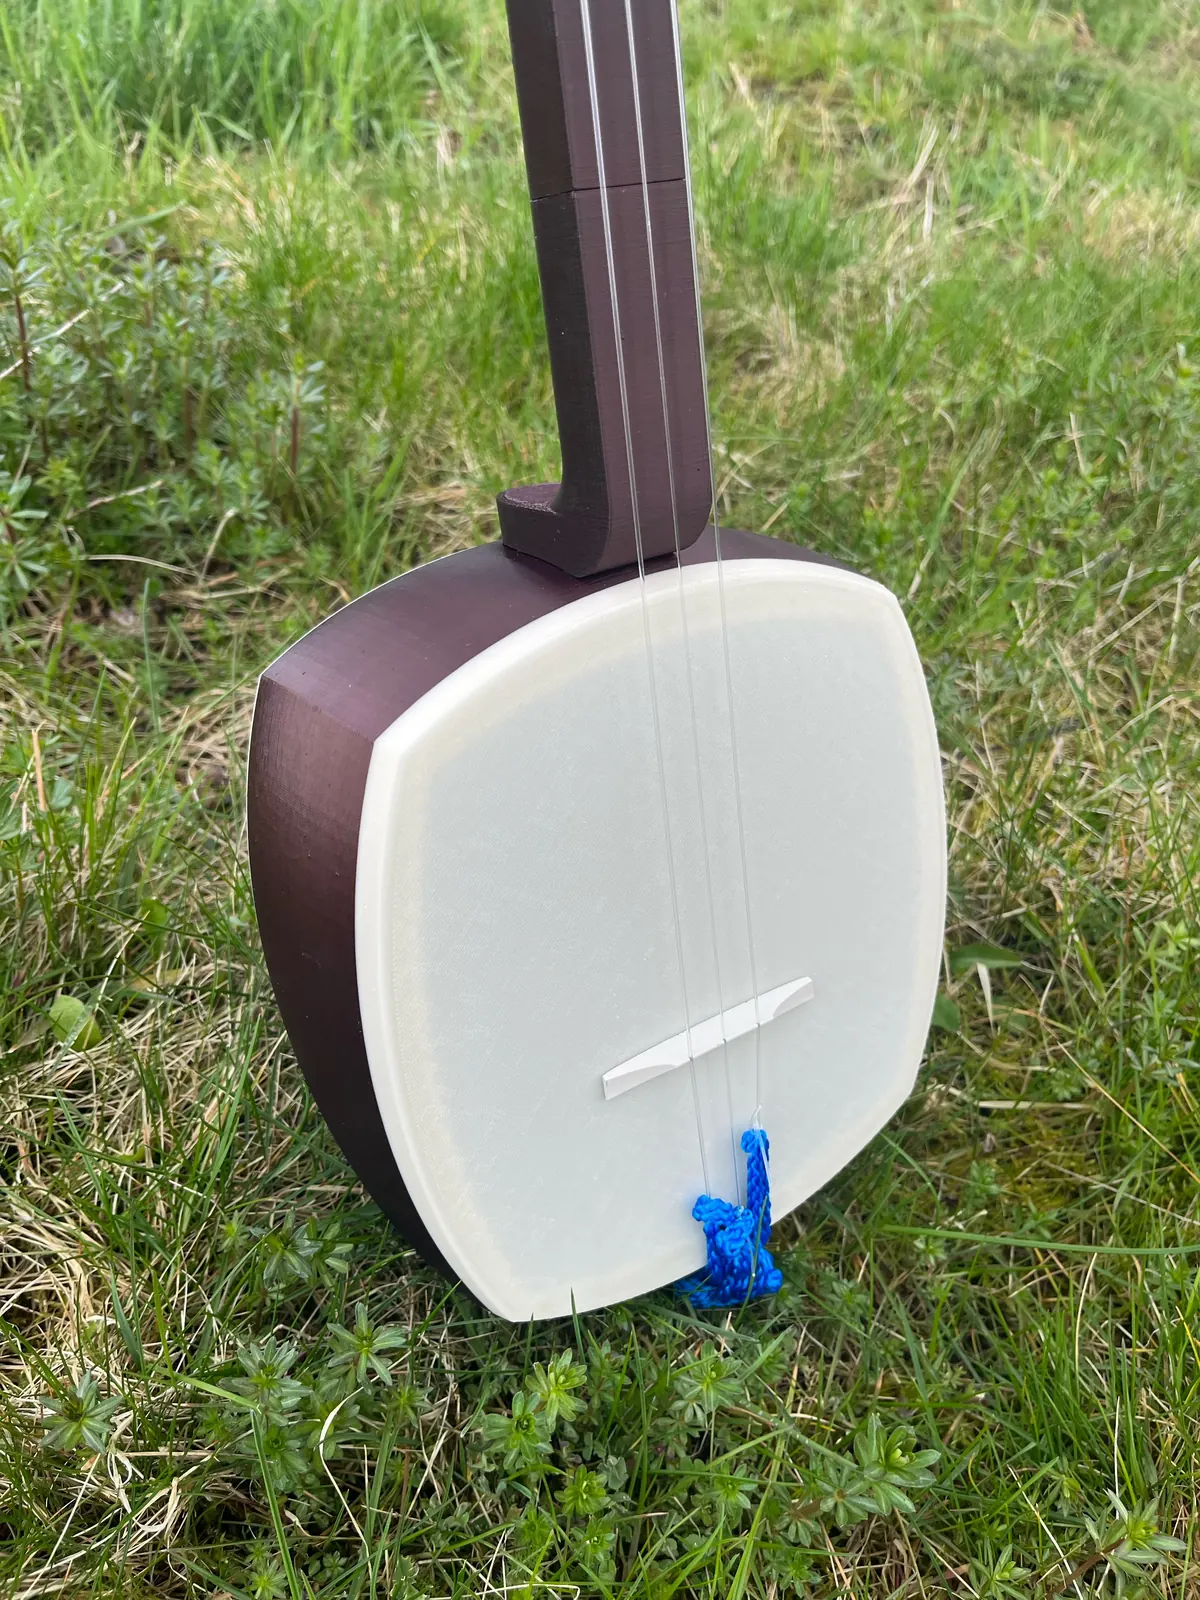
All photos: Dusanius, from the design page on Printables, licensed CC BY-NC-SA. We resized them and converted them to WebP. These adapted versions are shared under the same licence.