
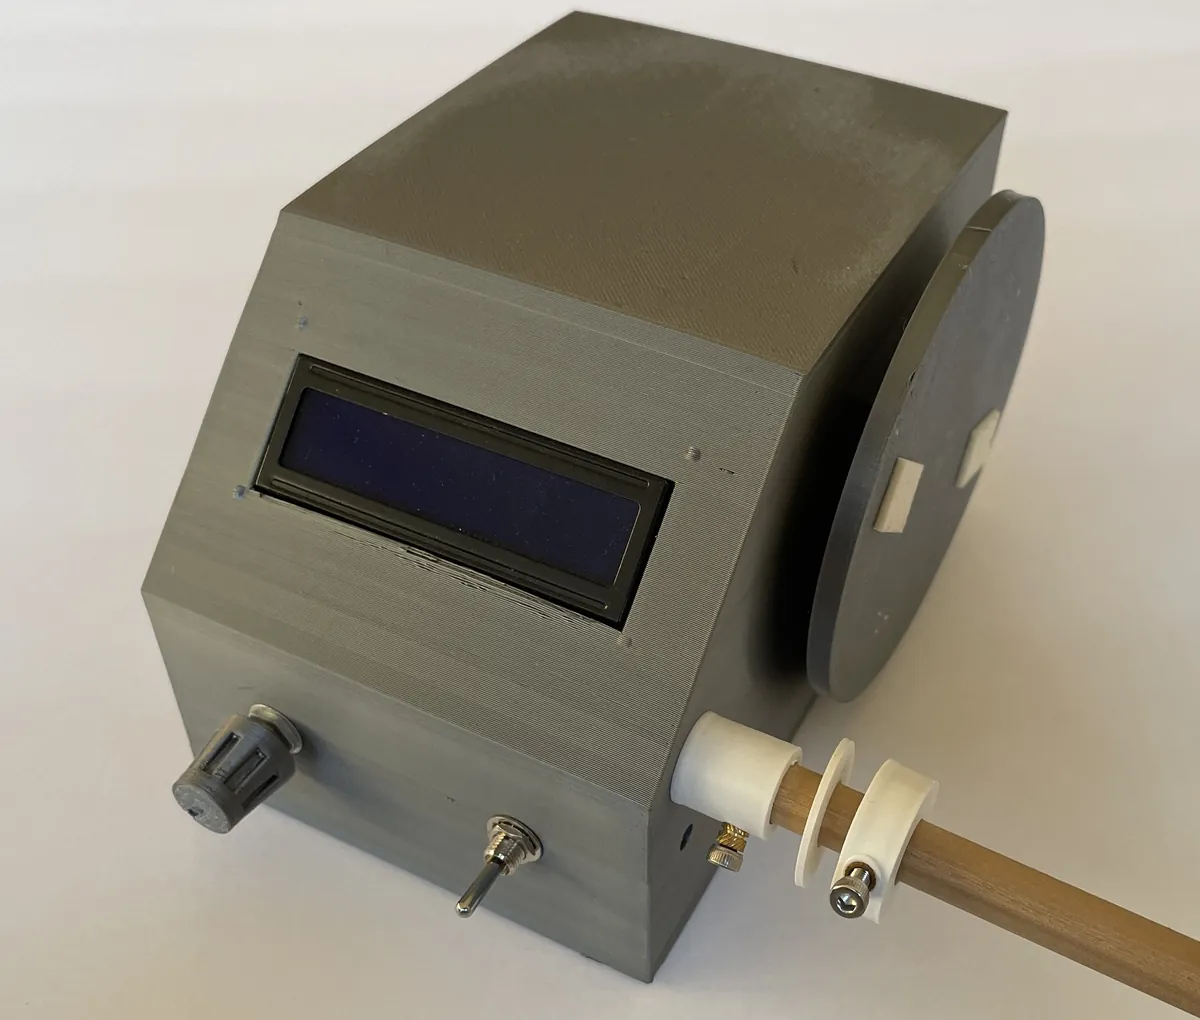
About the Pickup Winder V2
To make your own guitar pickups you wind thousands of turns of very fine wire onto a bobbin and need to know how many you've done. This printed machine spins the bobbin with a DC motor, counts the turns with a magnet and reed switch, and shows them on an LCD.
Version 2 swaps the original's Arduino Uno for a cheaper Nano and replaces the MOSFET motor circuit with a small H-bridge driver board, which the designer says made it cheaper and easier to build. The H-bridge adds forward and reverse, and it supplies 5 V for the Nano from its 12 V input. The circuit is built on cut-down protoboard.
The Printables page is short; the detail is in the designer's companion Instructable (circuit diagram, full Arduino code and assembly notes) and his build video. If you built V1, he says you only need the new base (and a slightly bigger switch hole).
Who it's for. Guitar builders who want to wind their own pickups. How to wind a pickup is covered in the designer's V1 Instructable. We haven't built one ourselves; this summarises his notes.
What you'll need
Printed parts
- Base and lid
- Motor mount and motor bracket
- Pickup holder
- Wire guide, guide mount, guide spacer and guide limit
- Power bracket and knob
Bought parts
- Arduino Nano
- An H-bridge motor driver board
- A DC motor
- A 12 V power supply with a barrel jack
- An I2C LCD
- A potentiometer and a three-position switch
- A magnet and a reed switch
- Protoboard and header pins
- M2 and M3 screws (about 5–15 mm) and nuts
- Hot glue or E6000
Tools
- A soldering iron
- A knife and ruler to cut protoboard traces
- A multimeter
- Pliers
Build overview
Our own outline of the designer's Instructable; the files are on Printables.
- Print the case. PETG, or PLA.
- Build the circuit. Solder the Nano, H-bridge connections, switch, pot, reed switch and LCD on protoboard, following the circuit diagram.
- Upload the code. Load the designer's Arduino sketch.
- Assemble. Screw in the screen, barrel jack, motor mount and pickup holder; glue the magnet and reed switch; fit the pot, switch, H-bridge and board.
- Test and wind. Check it runs both ways and counts, then wind a pickup.
Print settings
- Material: PETG (the designer's choice); PLA should work
- Supports: Not stated
Video
 Play video: Build and demo (loads YouTube)
Nothing loads from YouTube until you press play. Video thumbnails are © their creators.