
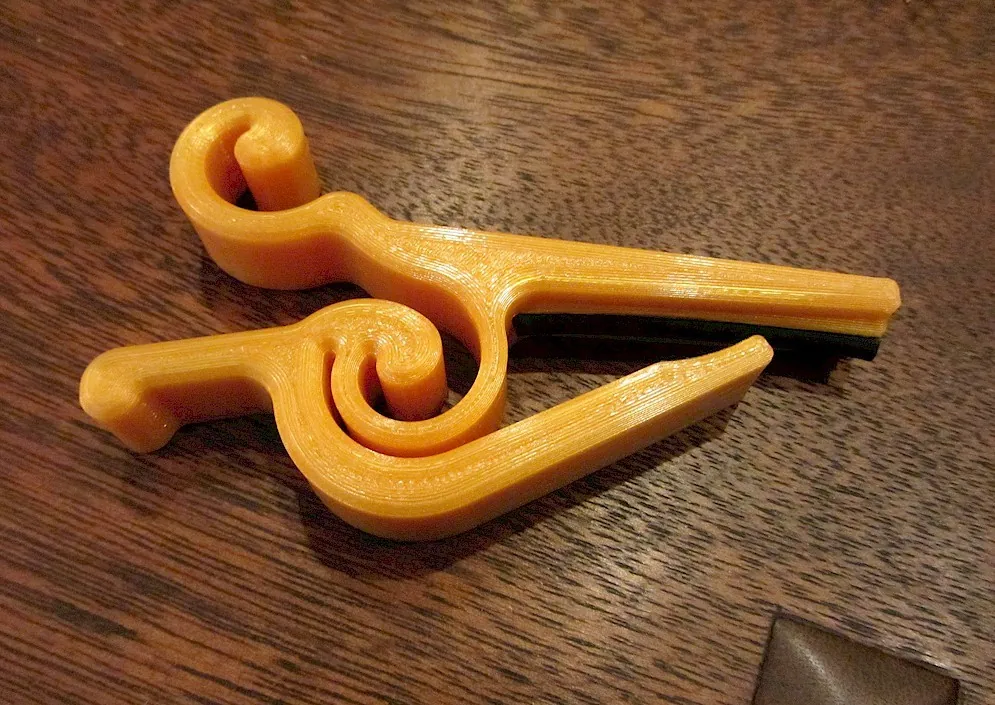
About the Improved One-piece Capo
LoboCNC's improved version of his earlier capo prints as a single piece with a built-in spring section, so you can put it on with one hand. A short length of rubber o-ring in the presser bar frets the strings with less force and no buzzing, per the designer.
The redesign spreads the strain more evenly through the spring to stop it breaking, adds a positive stop at the handle, and comes with exact slicer settings, because the spring depends on them. He says to follow them exactly: 5 perimeters, 0.45 mm line width and 35% rectilinear infill. The o-ring channel prints with a thin built-in support that peels away.
There are versions without the o-ring, though the designer says the o-ring versions work more reliably, and a wide version for fatter acoustic necks. He also suggests a bit of electrical tape or felt under the clamp to protect the neck.
Who it's for. Guitarists who want a cheap, quick capo. It's a different design from the ratcheting capo already in the library. We haven't printed one ourselves; this summarises the designer's notes.
What you'll need
Printed parts
- The capo (one piece): standard or wide, with or without the o-ring channel
Bought parts
- Optional: about 2.05" of 3/16" o-ring or o-ring cord
- Optional: electrical tape or felt to protect the neck
Tools
- A sharp knife to cut the o-ring
Build overview
Our own outline of the designer's notes on Printables.
- Pick a version. Standard for electric or thinner-necked guitars; wide for fatter acoustic necks.
- Print it. Use the designer's exact settings below.
- Fit the o-ring. Peel out the thin support, cut 2.05" of 3/16" o-ring and press it into the presser-bar channel.
- Protect the neck. Add a little tape or felt under the clamp, then clip it on.
Print settings
- Material: PLA
- Layers: 0.2 mm
- Perimeters: 5
- Line width: 0.45 mm (exactly)
- Infill: 35% rectilinear
- Supports: Built in (a thin one in the o-ring channel)