
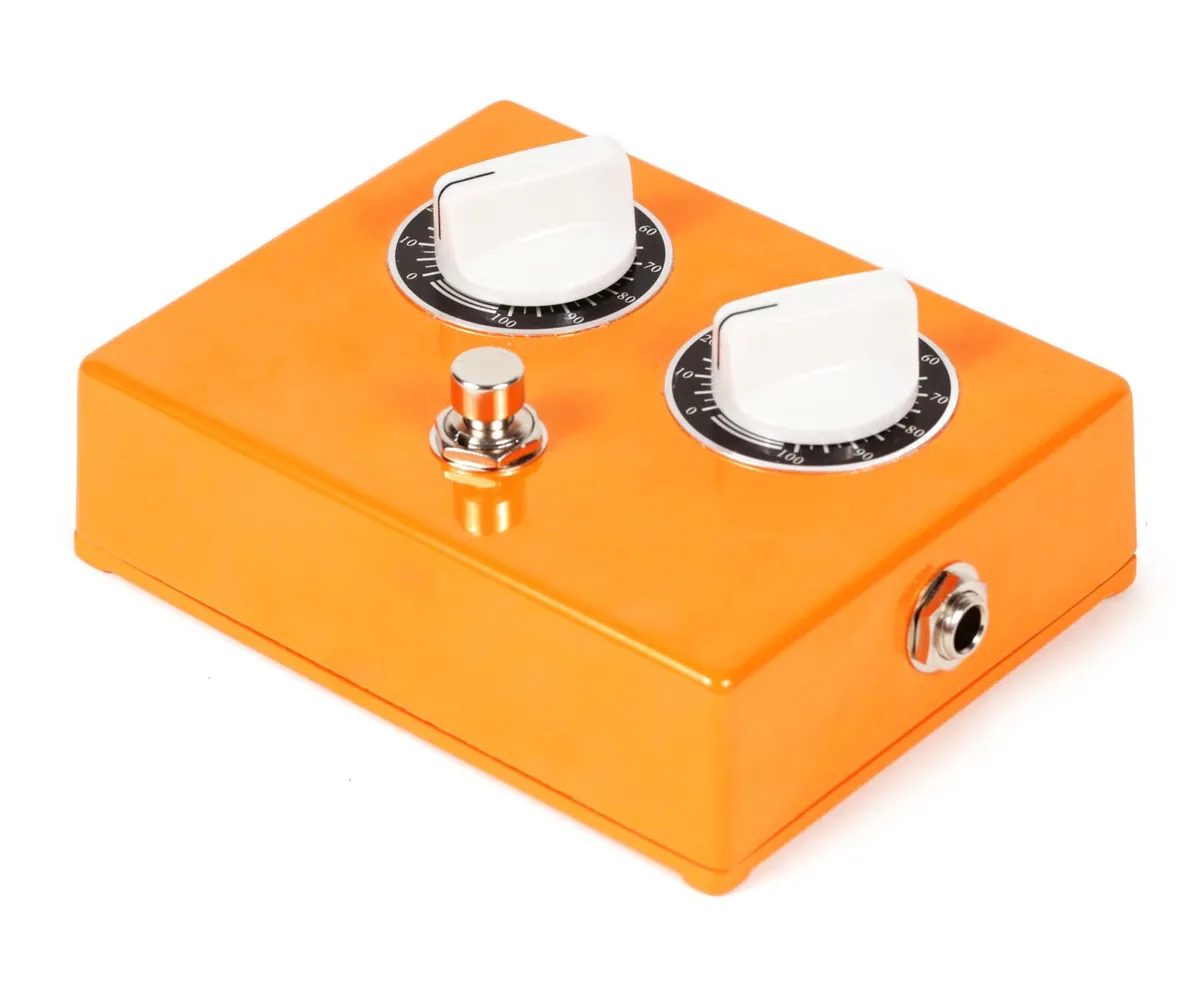
About the DIY Guitar Pedal
Randy Sarafan (randofo) shows how to build a classic fuzz pedal from two transistors and a handful of other parts. The circuit is a variation on the Fuzz Face, and he points to R.G. Keen's article on the Fuzz Face for anyone who wants the theory.
Most of the 25 steps cover the parts of pedal building that trip up beginners: taping on the printable drilling guide, drilling the metal box in stages, gluing on dial plates, mounting the pots and jacks, wiring the footswitch and grounding through the metal case. He suggests trying different transistors and capacitor values on a breadboard first, since they change the sound.
This 2017 guide is the author's updated version of his 2011 Fuzz Pedal Instructable, so we list this one.
Who it's for. Guitarists building their first pedal. You'll need to solder and drill metal. This page summarises the author's guide; we haven't built one ourselves.
What you'll need
Materials
- A Hammond BB metal enclosure
- Two dial plates, two knobs and contact cement
- Velcro squares to hold the board
Bought parts
- 2 × 2N3904 transistors (or similar NPN)
- Capacitors: 22 µF, 0.1 µF, 0.01 µF
- Resistors: 2 × 100 kΩ, 10 kΩ, 5.1 kΩ
- A 5 kΩ and a 100 kΩ potentiometer
- A heavy-duty push footswitch (DPDT)
- 2 × 1/4" stereo jacks
- A circuit board, a 9 V battery and battery clip
Tools
- A drill with 1/8", 9/32", 3/8" and 1/2" bits
- A centre punch or nail
- A soldering iron
- Masking tape and the printed drilling guide
- A clamp or vise
Build overview
Our own outline of the author's 25 steps. The schematic, drilling guide (PDF) and photos are on Instructables.
- Drill the box. Tape the drilling guide to the box, punch the centres, then drill pilot holes and widen them in stages.
- Fit the dial plates. Make a tape stencil and glue the dial plates on with contact cement.
- Build the circuit. Solder the two-transistor fuzz circuit on the board, following the schematic.
- Mount and wire the hardware. Fit the pots, jacks and footswitch, wire the battery clip and switch, and ground the volume pot through the metal case.
- Connect and close. Wire the board to the switch and pots, stick it down with Velcro, add the battery and screw on the lid.
- Add the knobs and play. Line the knobs up with the dials and plug in.